rodinal

Return to the Huntington -- November 2018

Return to the Huntington

The Huntington is by far one of my favorite places in Los Angeles — I actually have an earlier less organized set on this blog from my first trip around the Huntington — Clickthrough here. I mean, I know The Huntington Gardens and Library, etc, are in San Marino, which is really just Pasadena, which is really just Los Angeles. Go Figure. I’m not really a huge history buff, so I’m far far too unqualified to talk much about the history, but the whole thing is pretty fascinating. I’m not usually a fan of collectors or flexers, but The Huntingtons really knew how to do it right -- Money can’t buy taste -- but it helped. 

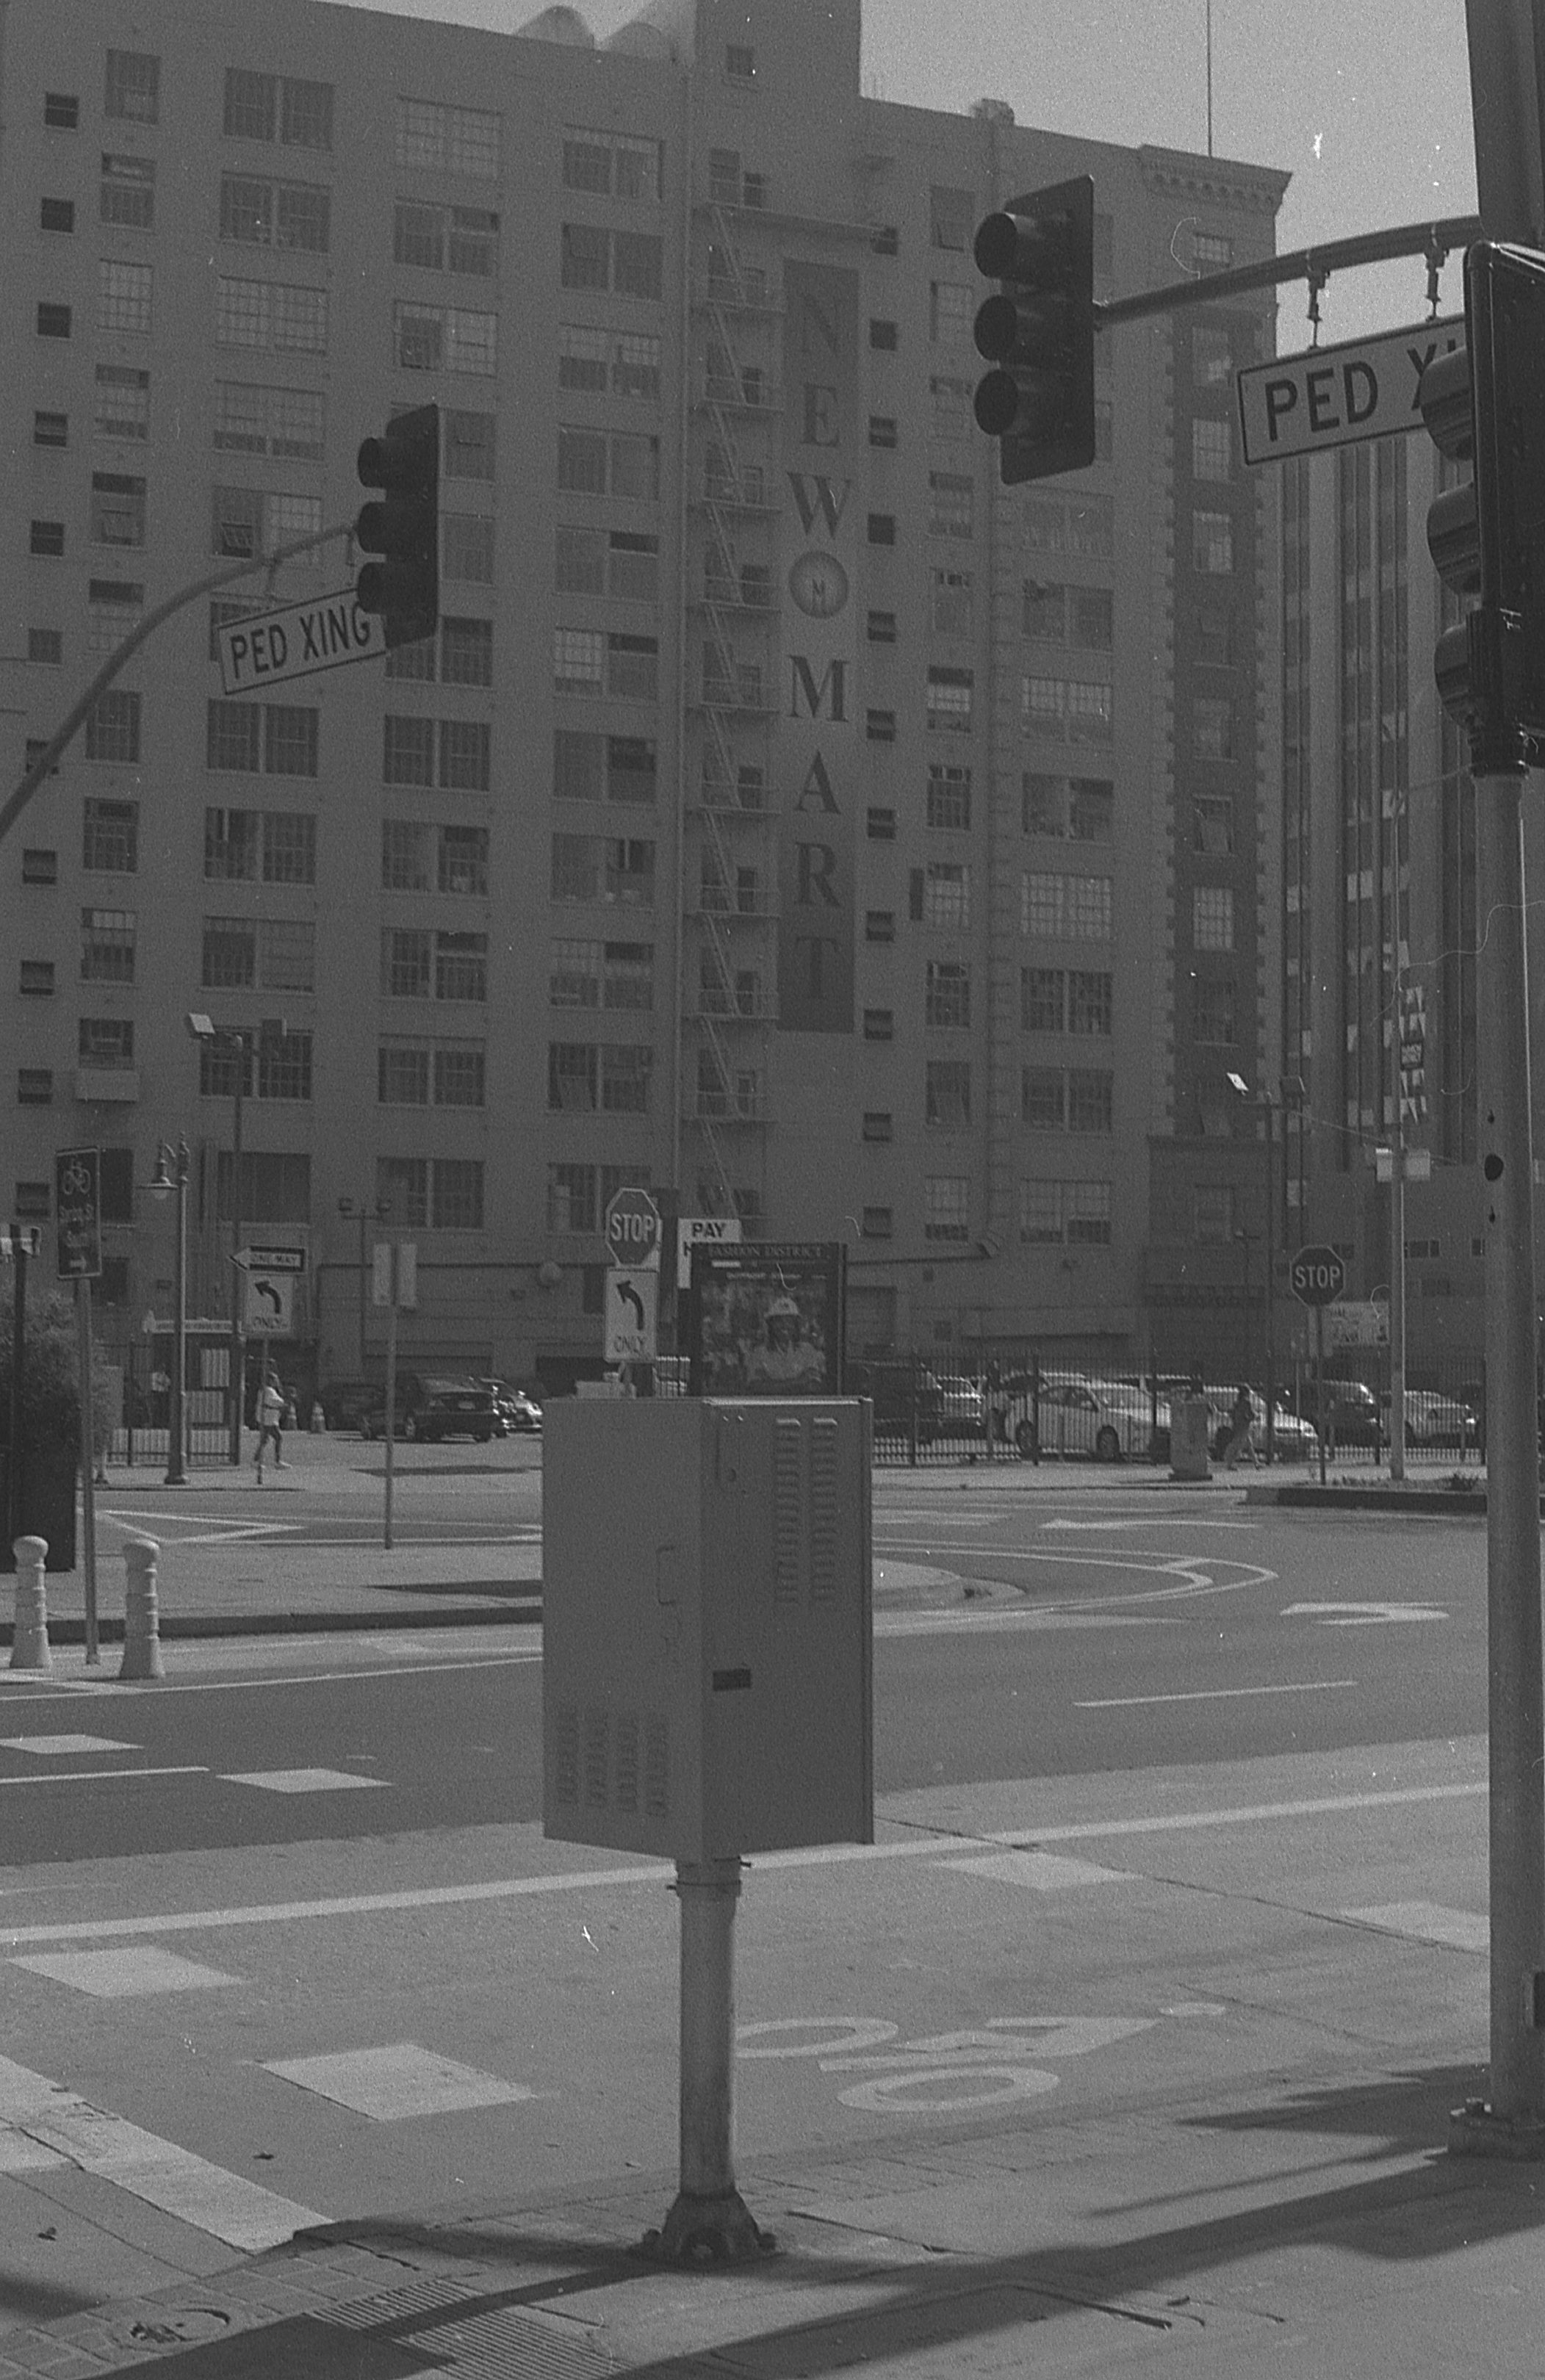
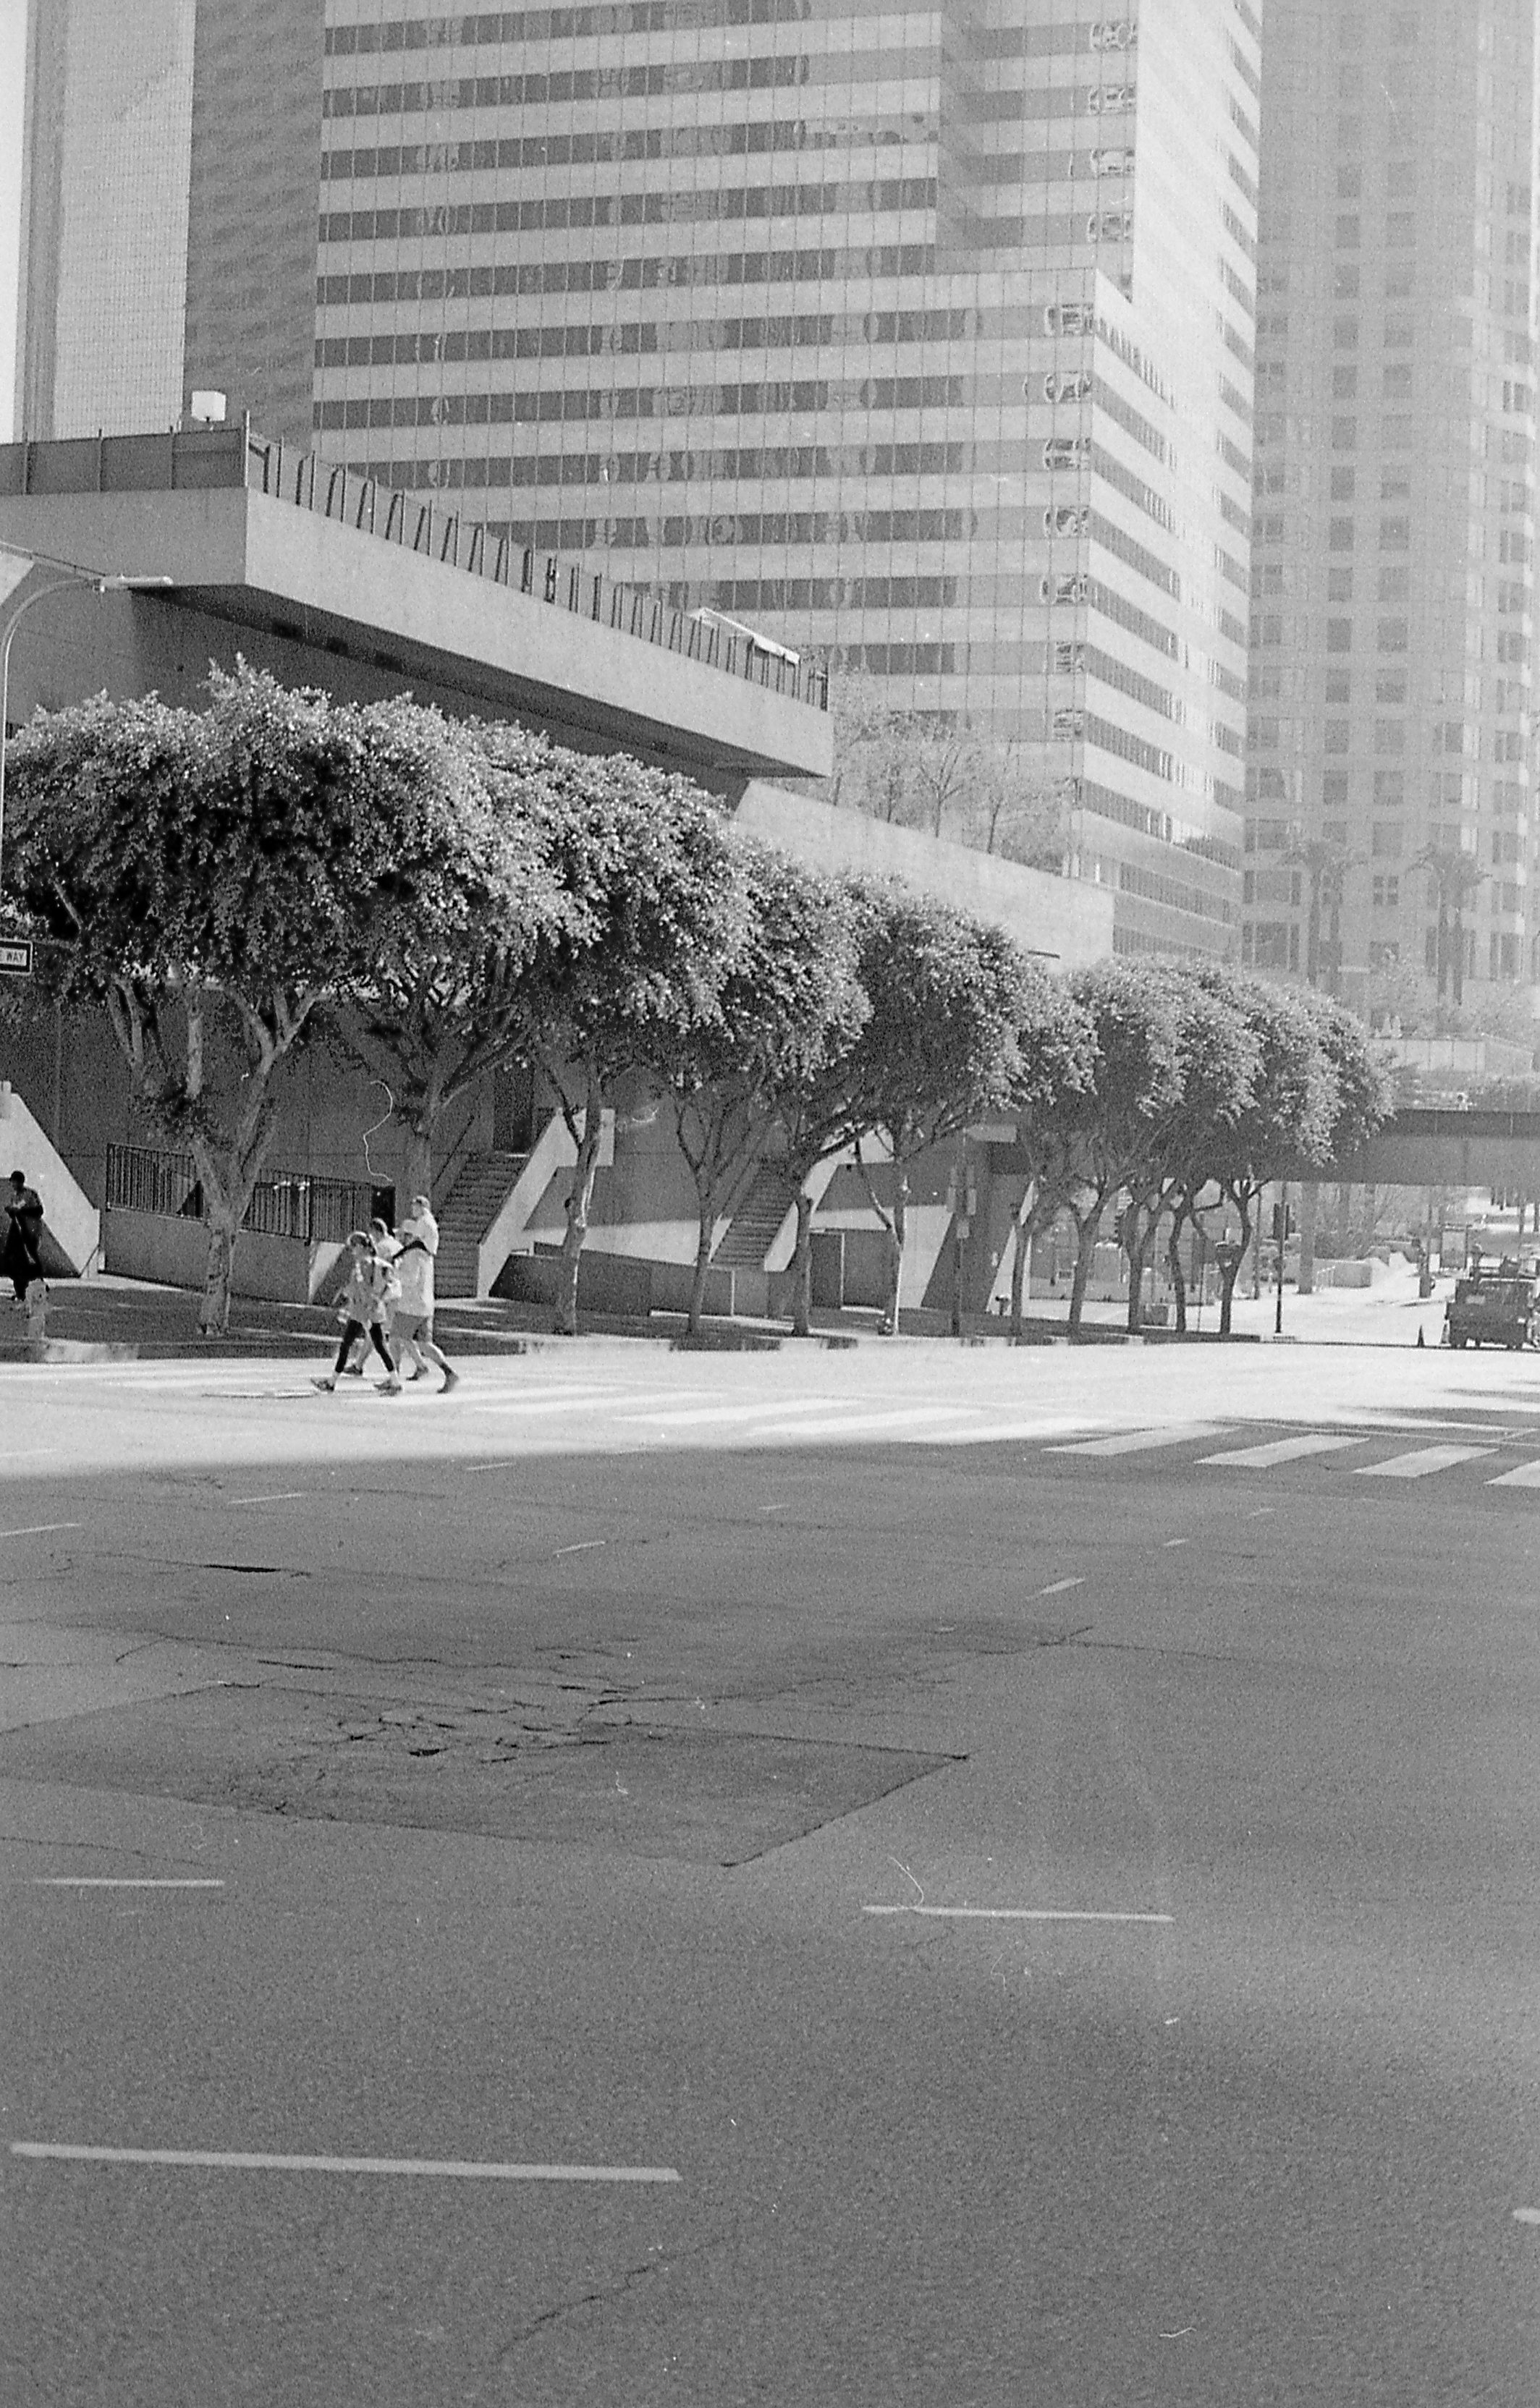
Before I met up with my father for lunch, I took a brief walk  around Downtown LA, near my apartment, and met him at his hotel -- which is by far one of the oddest most surreal places I’ve been to in LA (I stayed there while my building was fumigated two ish years ago -- the Hotel isn’t even one of the most mysterious or haunted ones in Downtown, but again another story/photo series for another day…) I did some street-ish photography, and met up with my father to get coffee before we had lunch.

After lunch, my father and I picked up Kristina and headed over to the Huntington. This round I walked around the grounds of The Huntington Library and Gardens was much different experience — I was going with other people. It was a very different experience roaming the grounds on a weekend, and with other people but not unenjoyable at all. It definitely was good to be able to compare thoughts on the gardens, and the art with other people. The grounds were magnificent as ever, and this round I even saw some interiors (not pictured here).

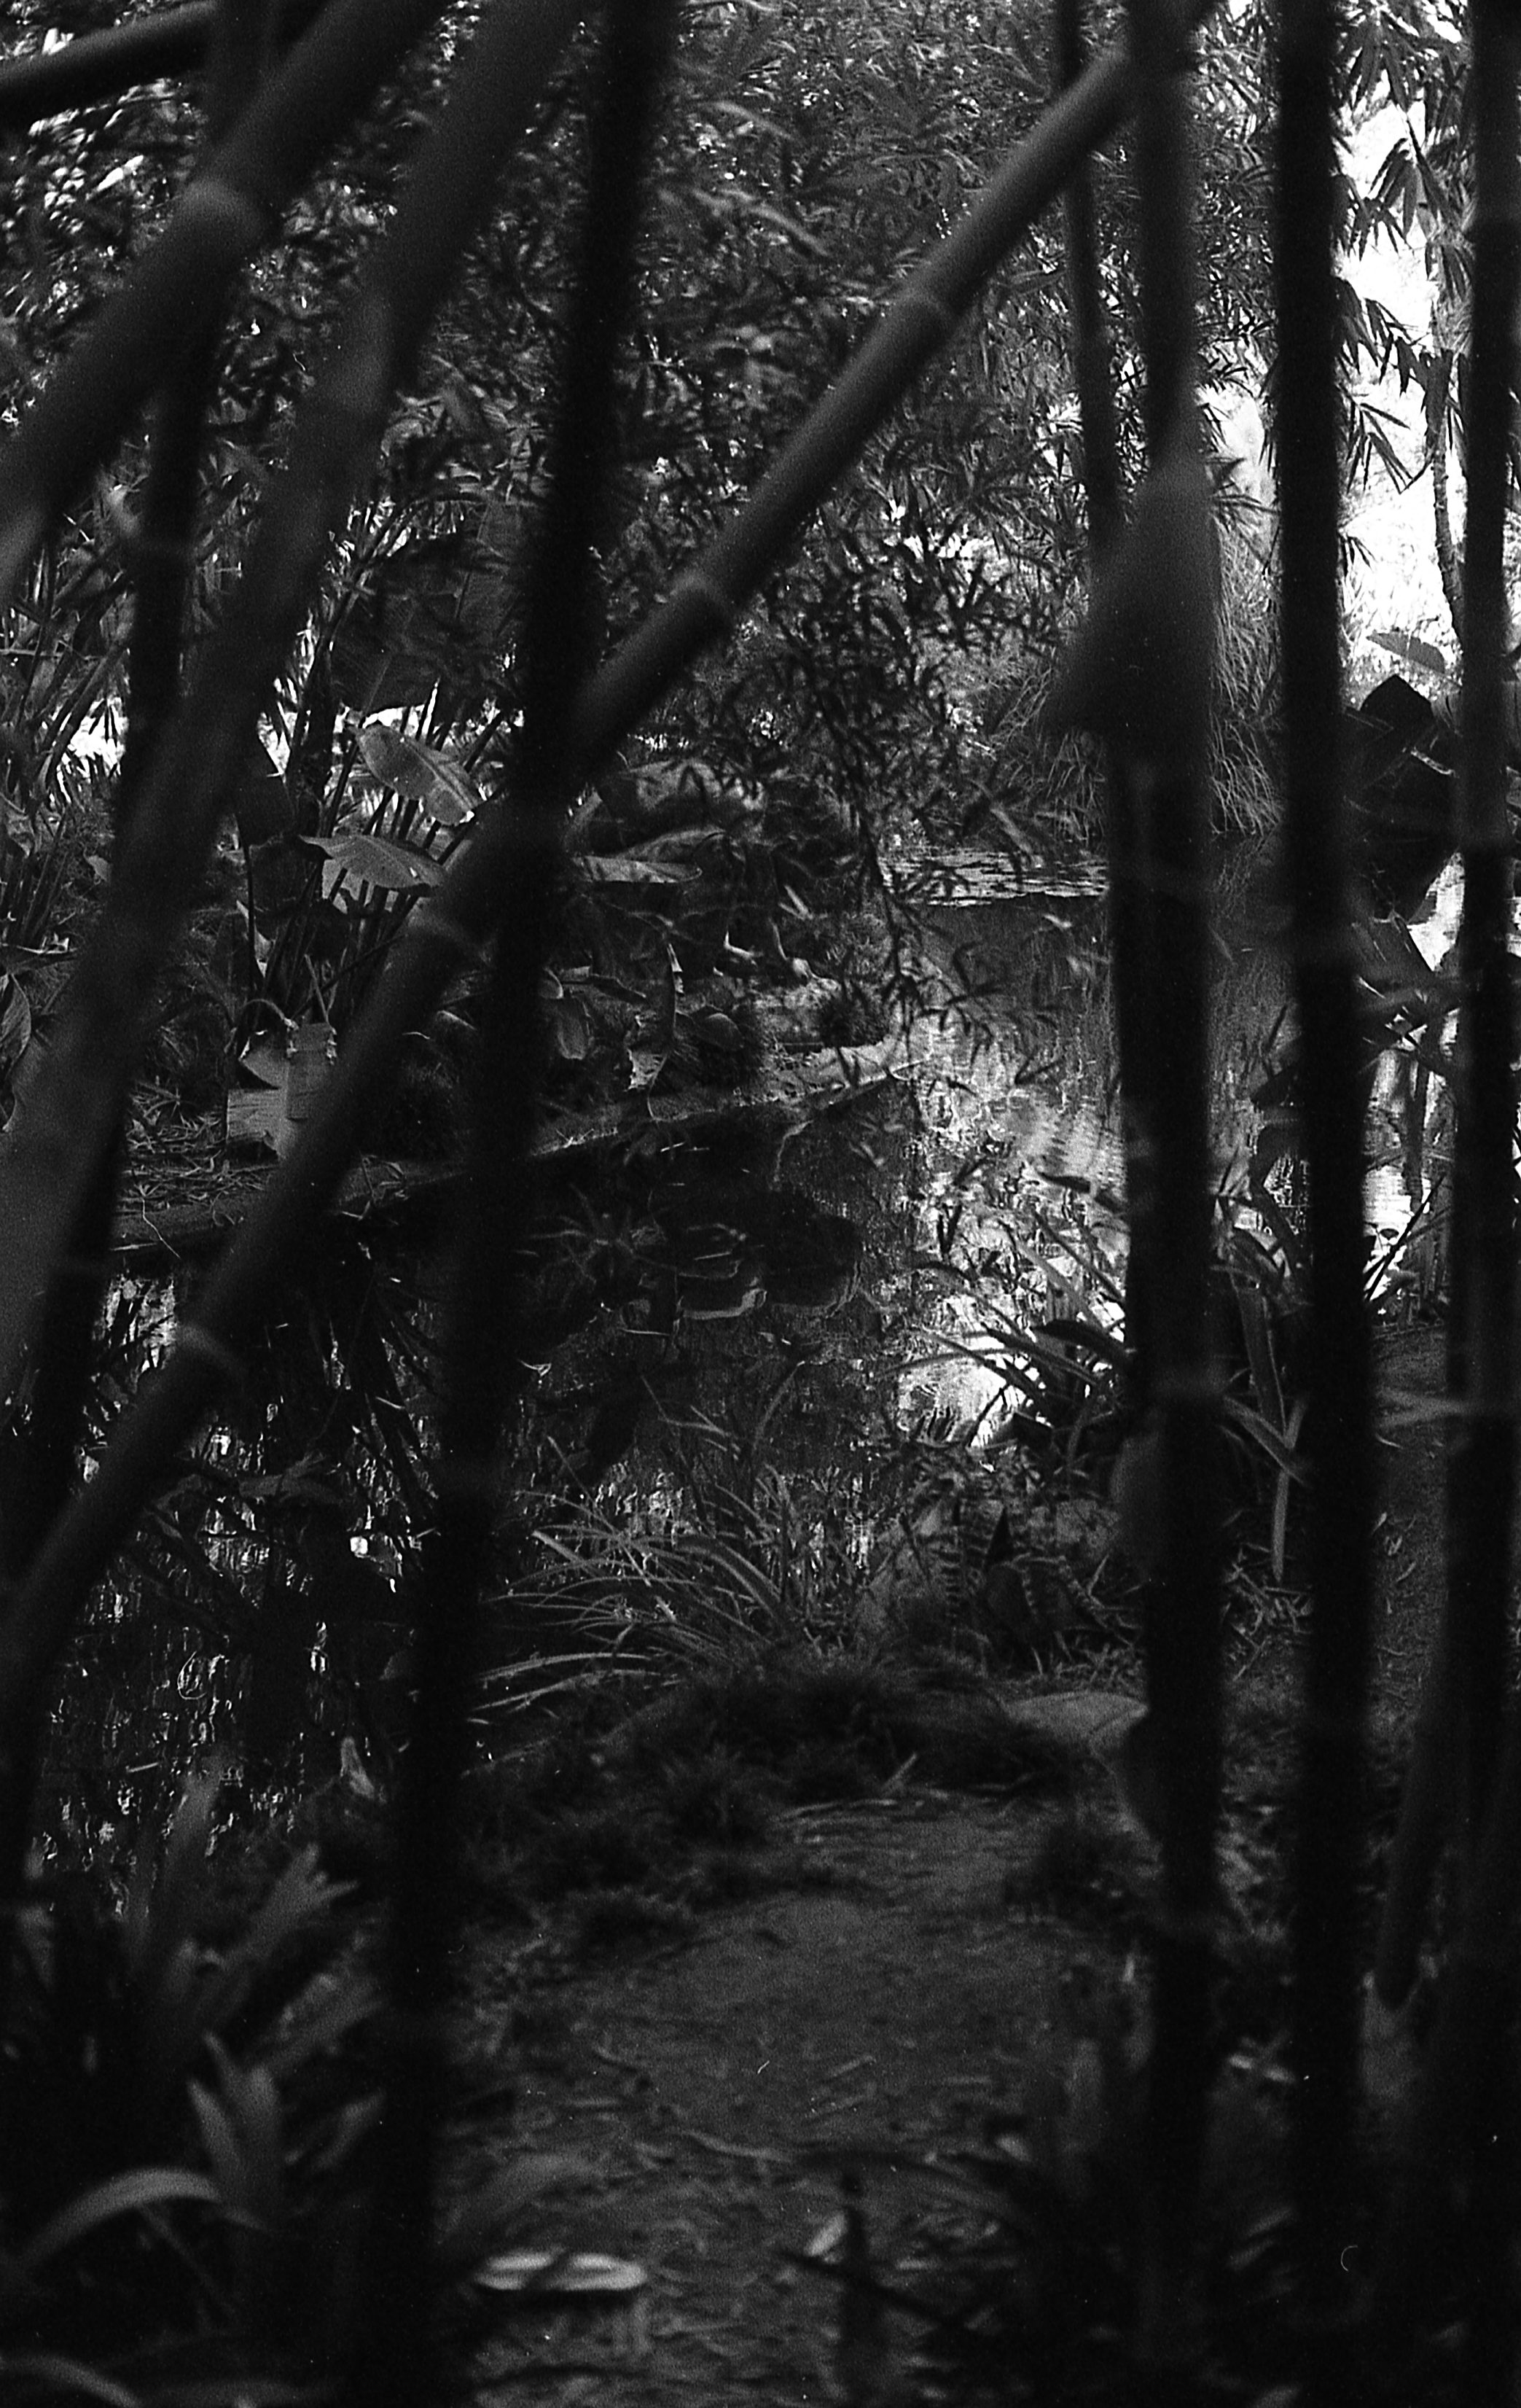
I believe (rough guess) The route we took was as follows: We Entered normally, cut through some of the grounds, skipped going into the greenhouse and back to the Mausoleum (which, let’s be honest is a pretty awesome way to stunt while grieving). Then travelled through the Chinese Garden (something my father is immensely fascinated with -- gardening, and to a lesser extent, the design and planning that goes into the elaborate Chinese style gardens and grounds.) Then through the Japanese Garden -- took a water break -- it was really unseasonably hot that November/October.

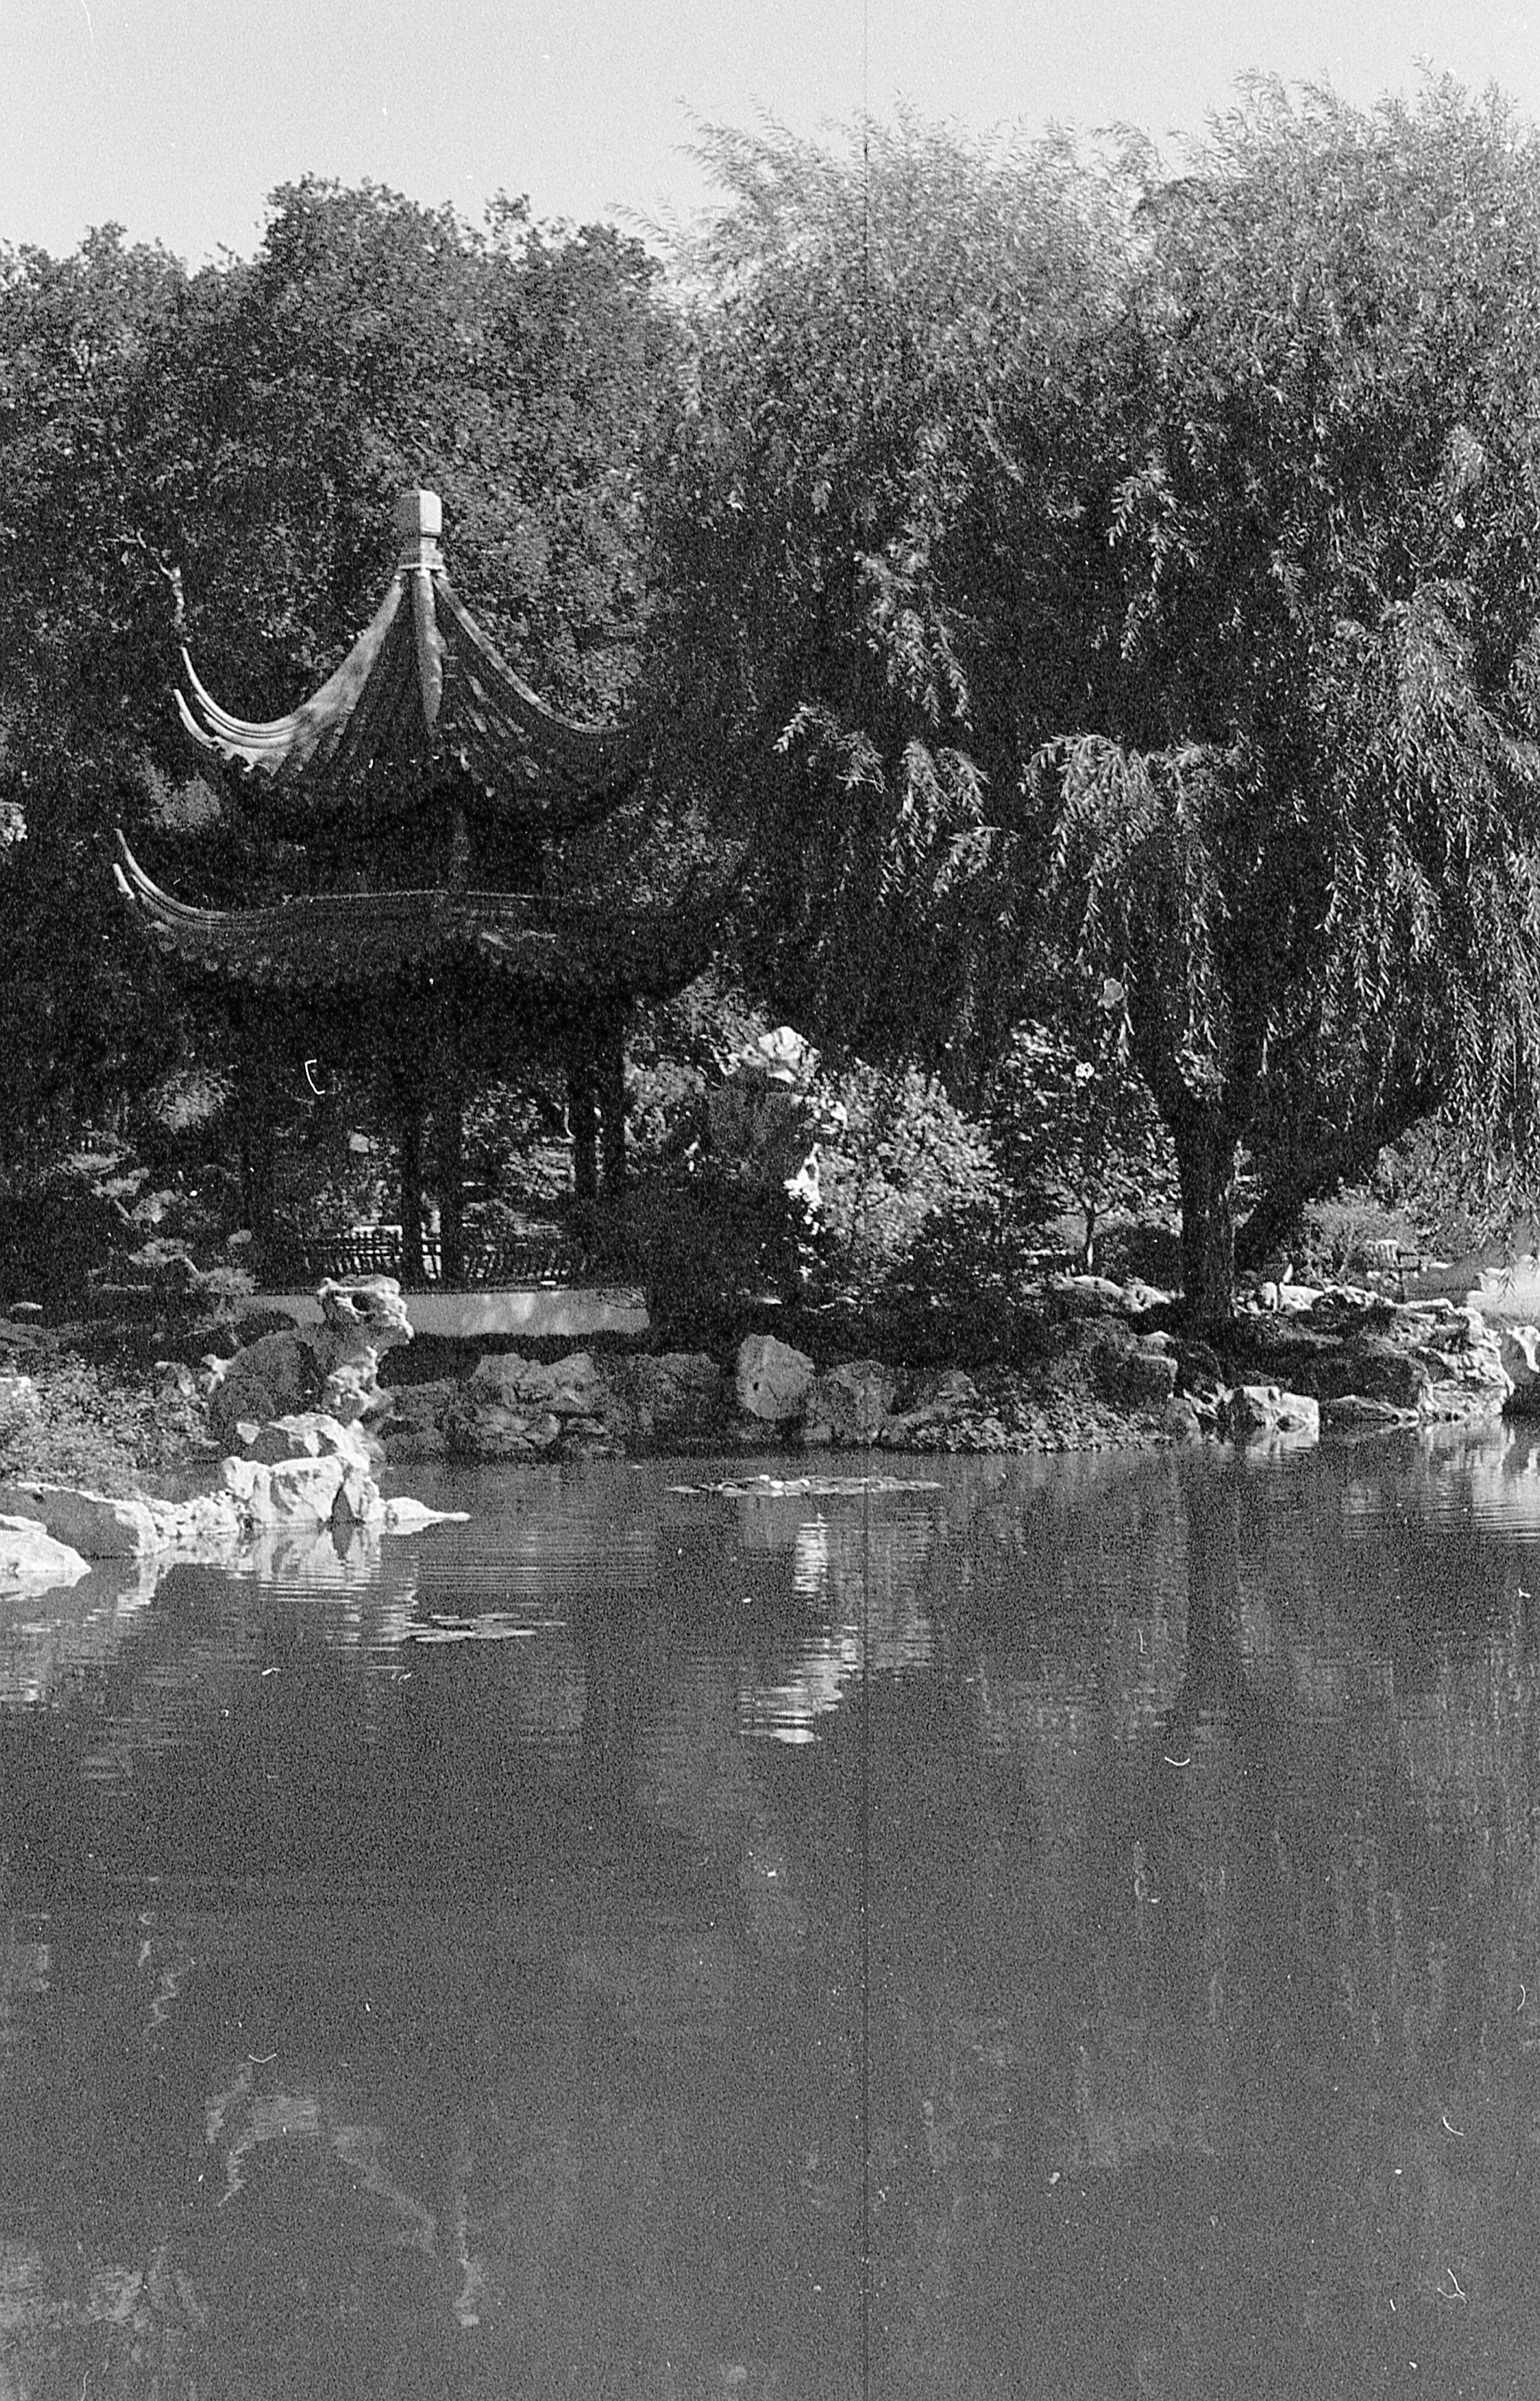
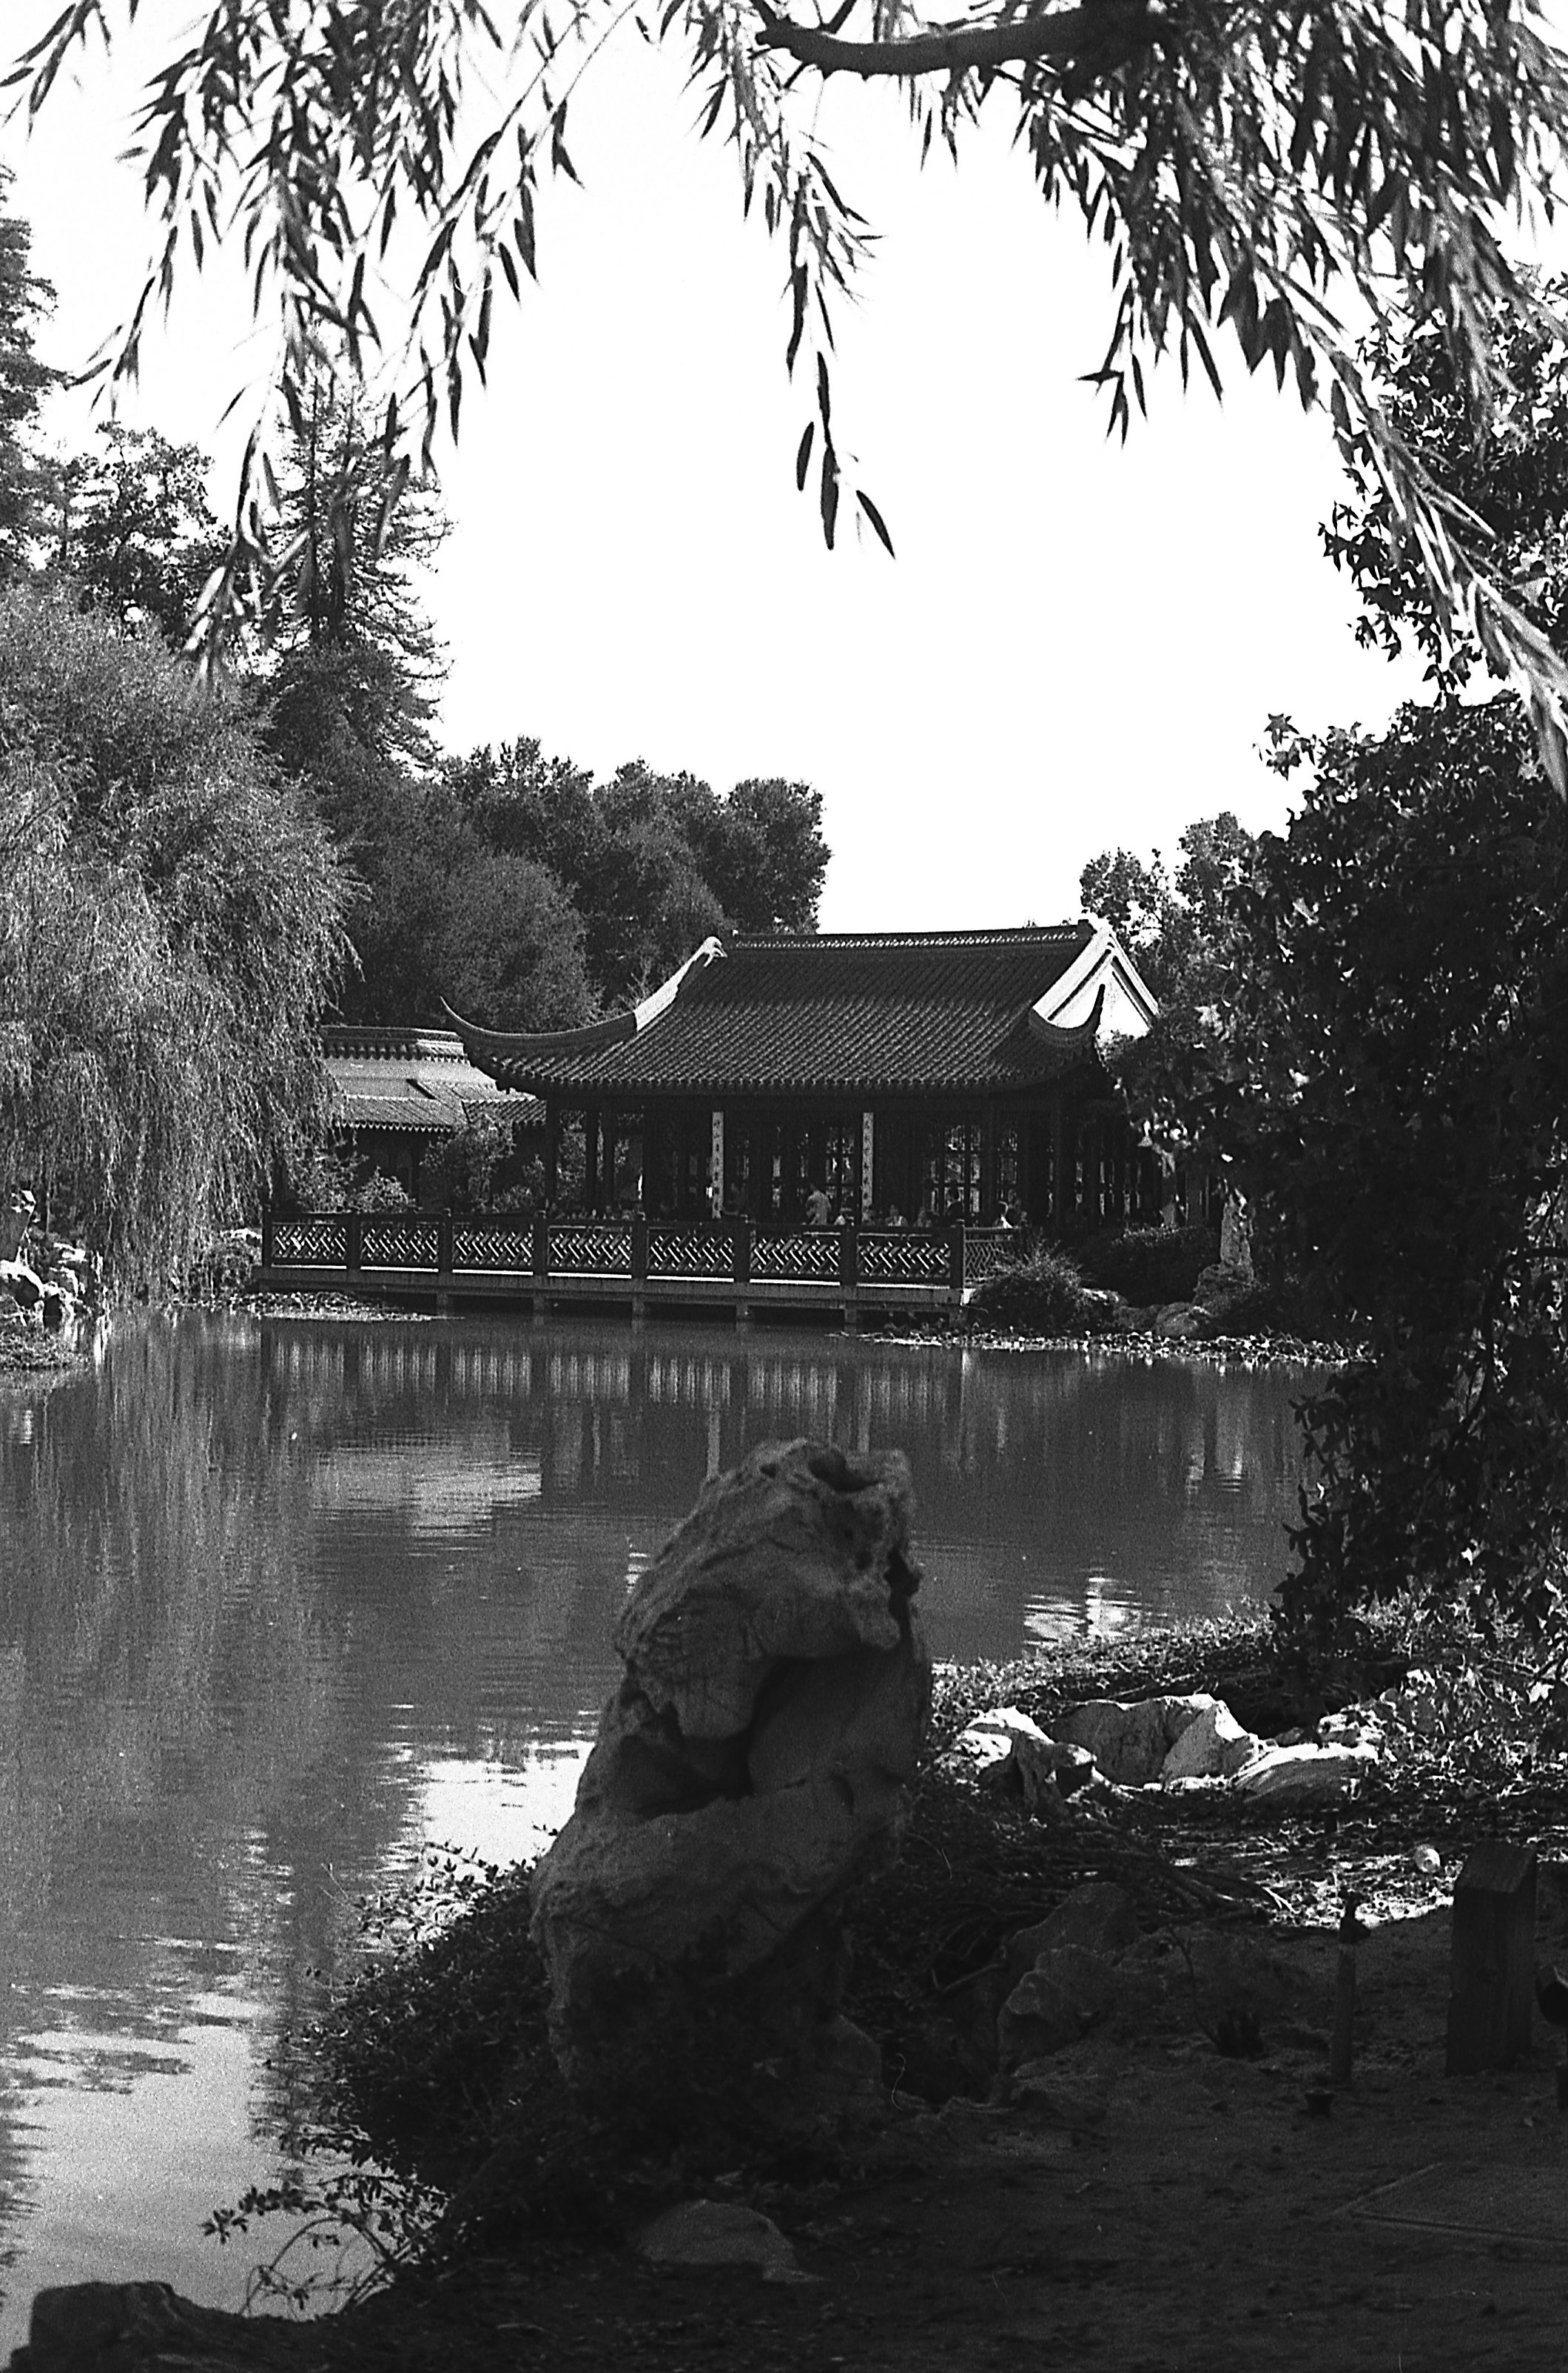
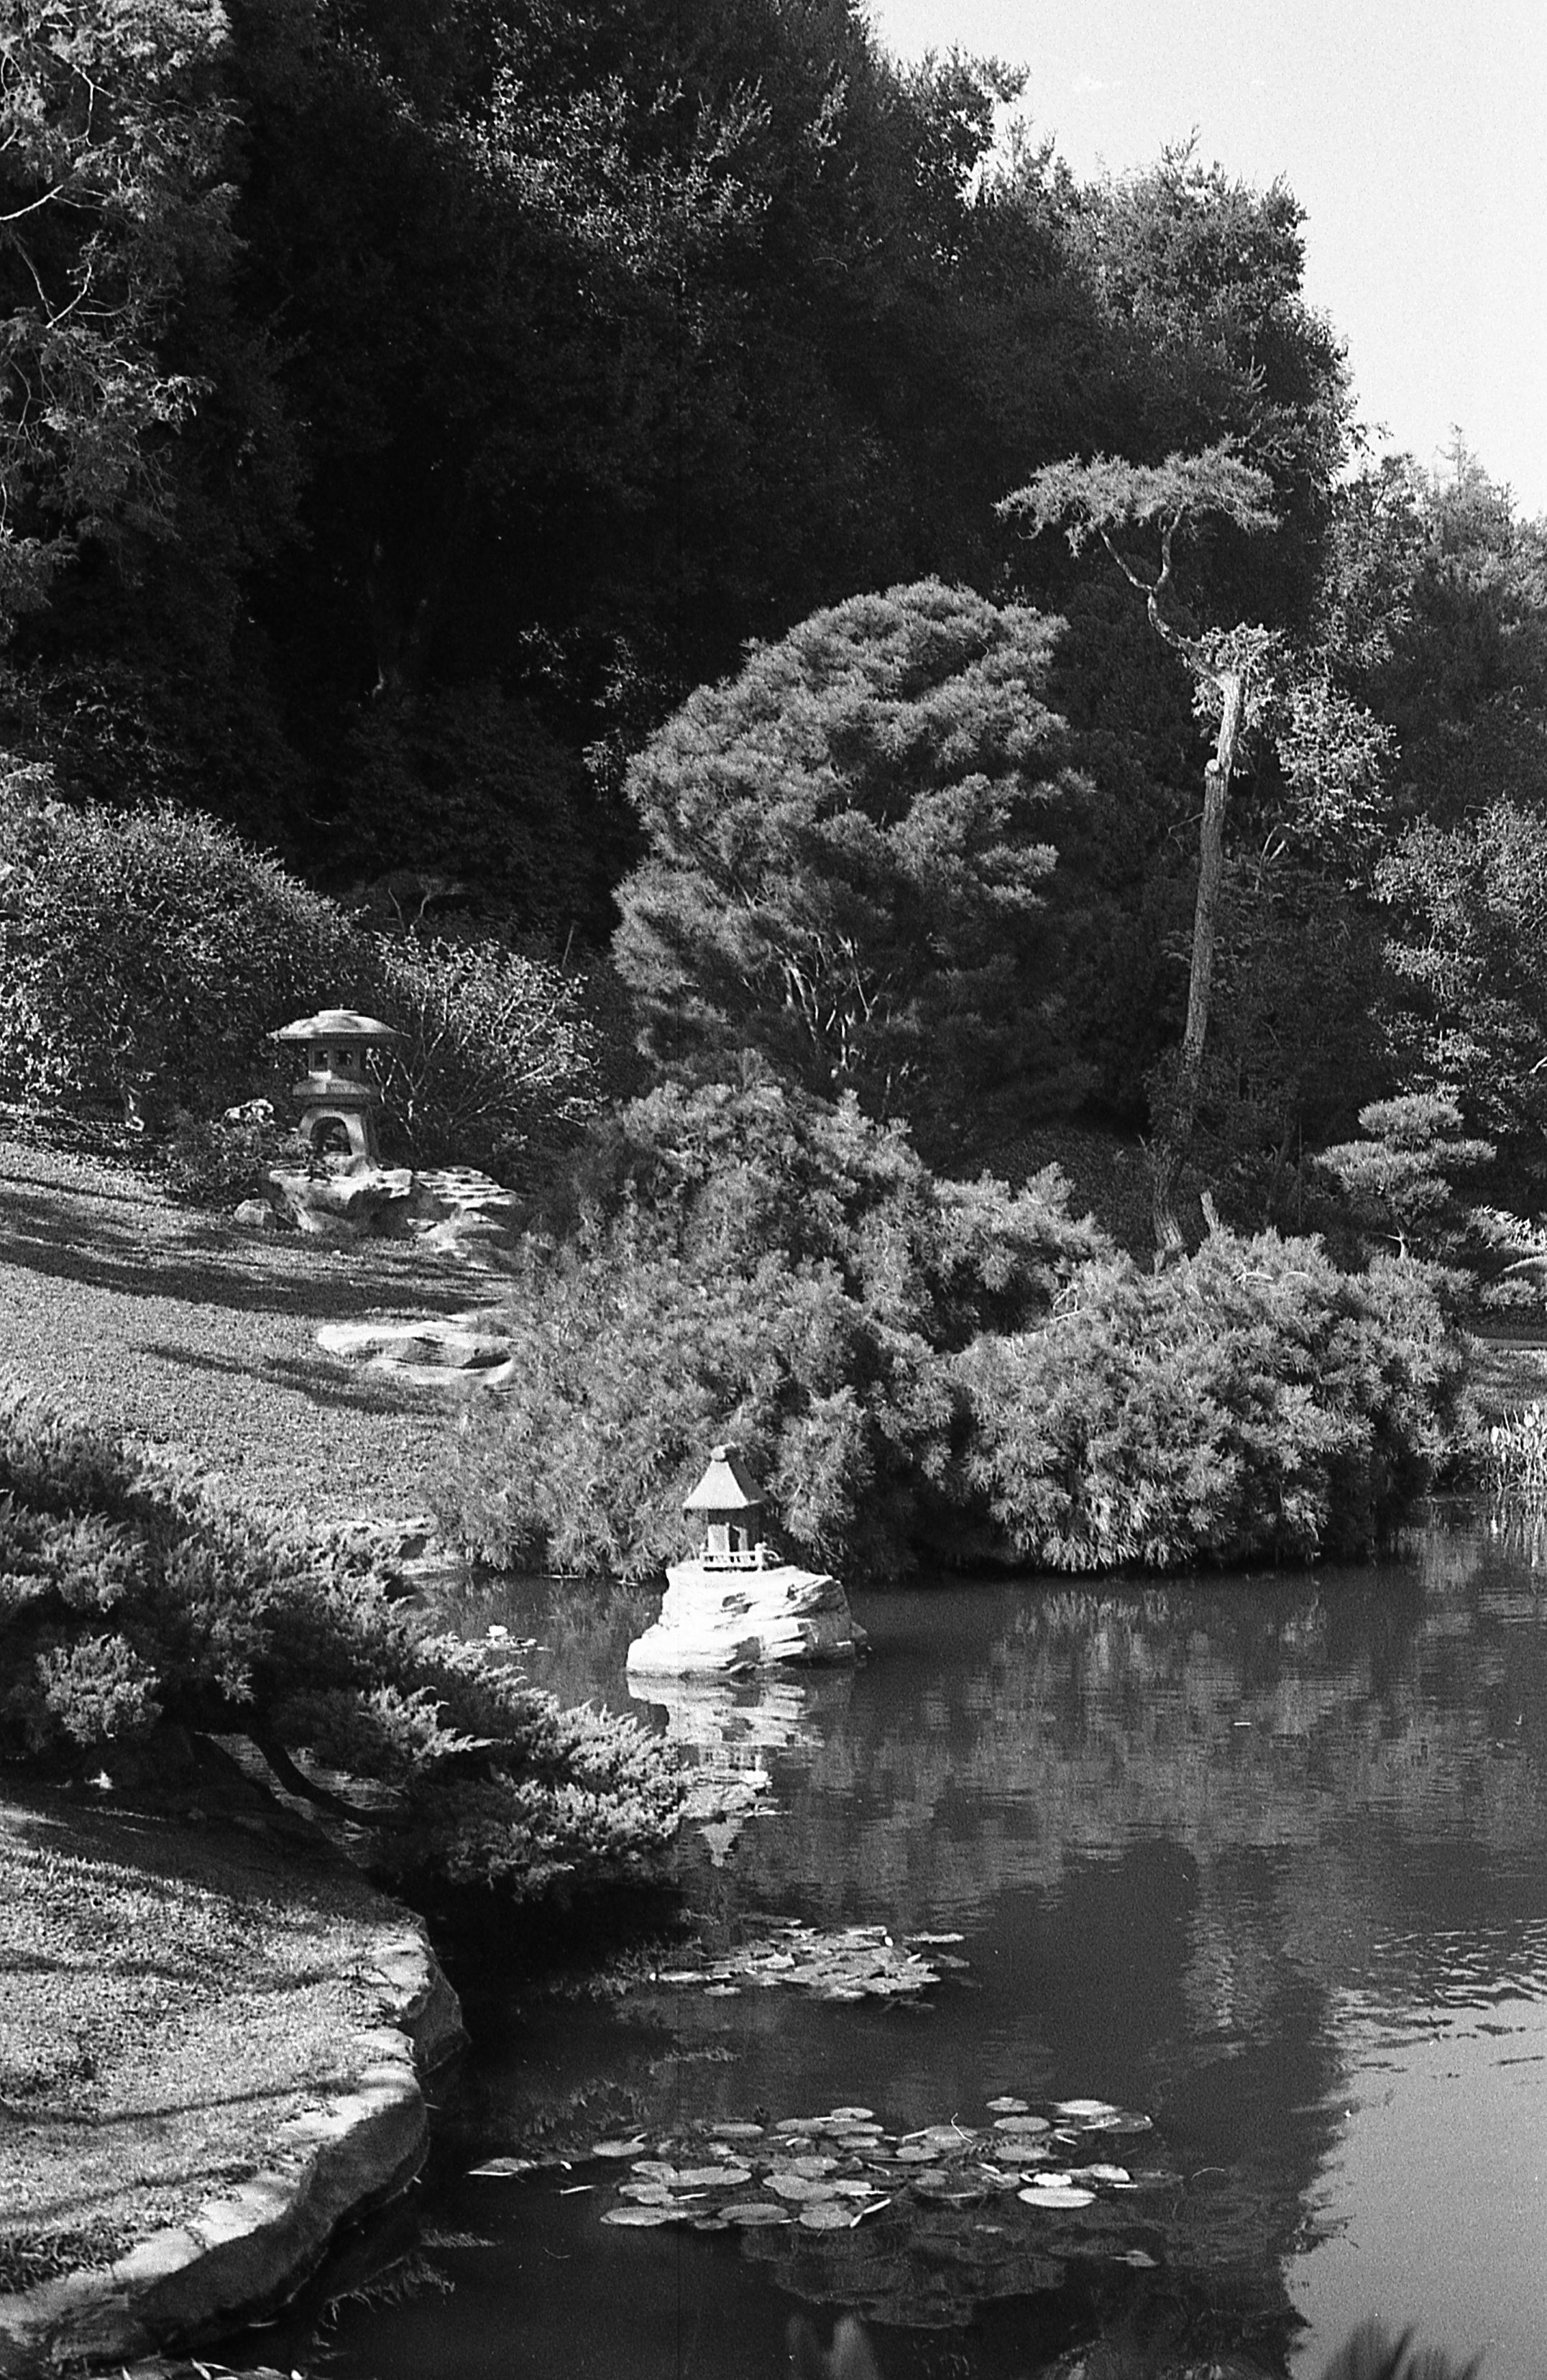
Shooting the Chinese and Japanese gardens were a bit of a challenge this round -- I quickly found that because of the abundance of tourists, I had to be very careful while shooting to get the shots I wanted -- and that within limited reach, I really couldn’t use a wide angle like I had done the last time. So, as has become the standard I slapped my Rokkor 50mm MC PG 1.4  onto the Minolta XD-11 pretty quickly, and it stayed there all day. The only other equipment note I can bother to give here is that everything you’re seeing was shot on Agfapan APX 100 during my test-period for that film. I think some of these photos have my favorite look I’ve ever seen/shot -- I know that for sure while the lighting helped the photos, I was using Rodinal 1:50, semi-stand, pushed to 160, and I think that really “made” the photos. I think while the gardens are colorful, after the major floral bloom it looks much more compelling in black and white too. Everything was scanned through the Epson V600 -- you can read my opinions on that here. That’s gonna be the end of me talking tech/equipment shit here -- there’s really not much else to say.

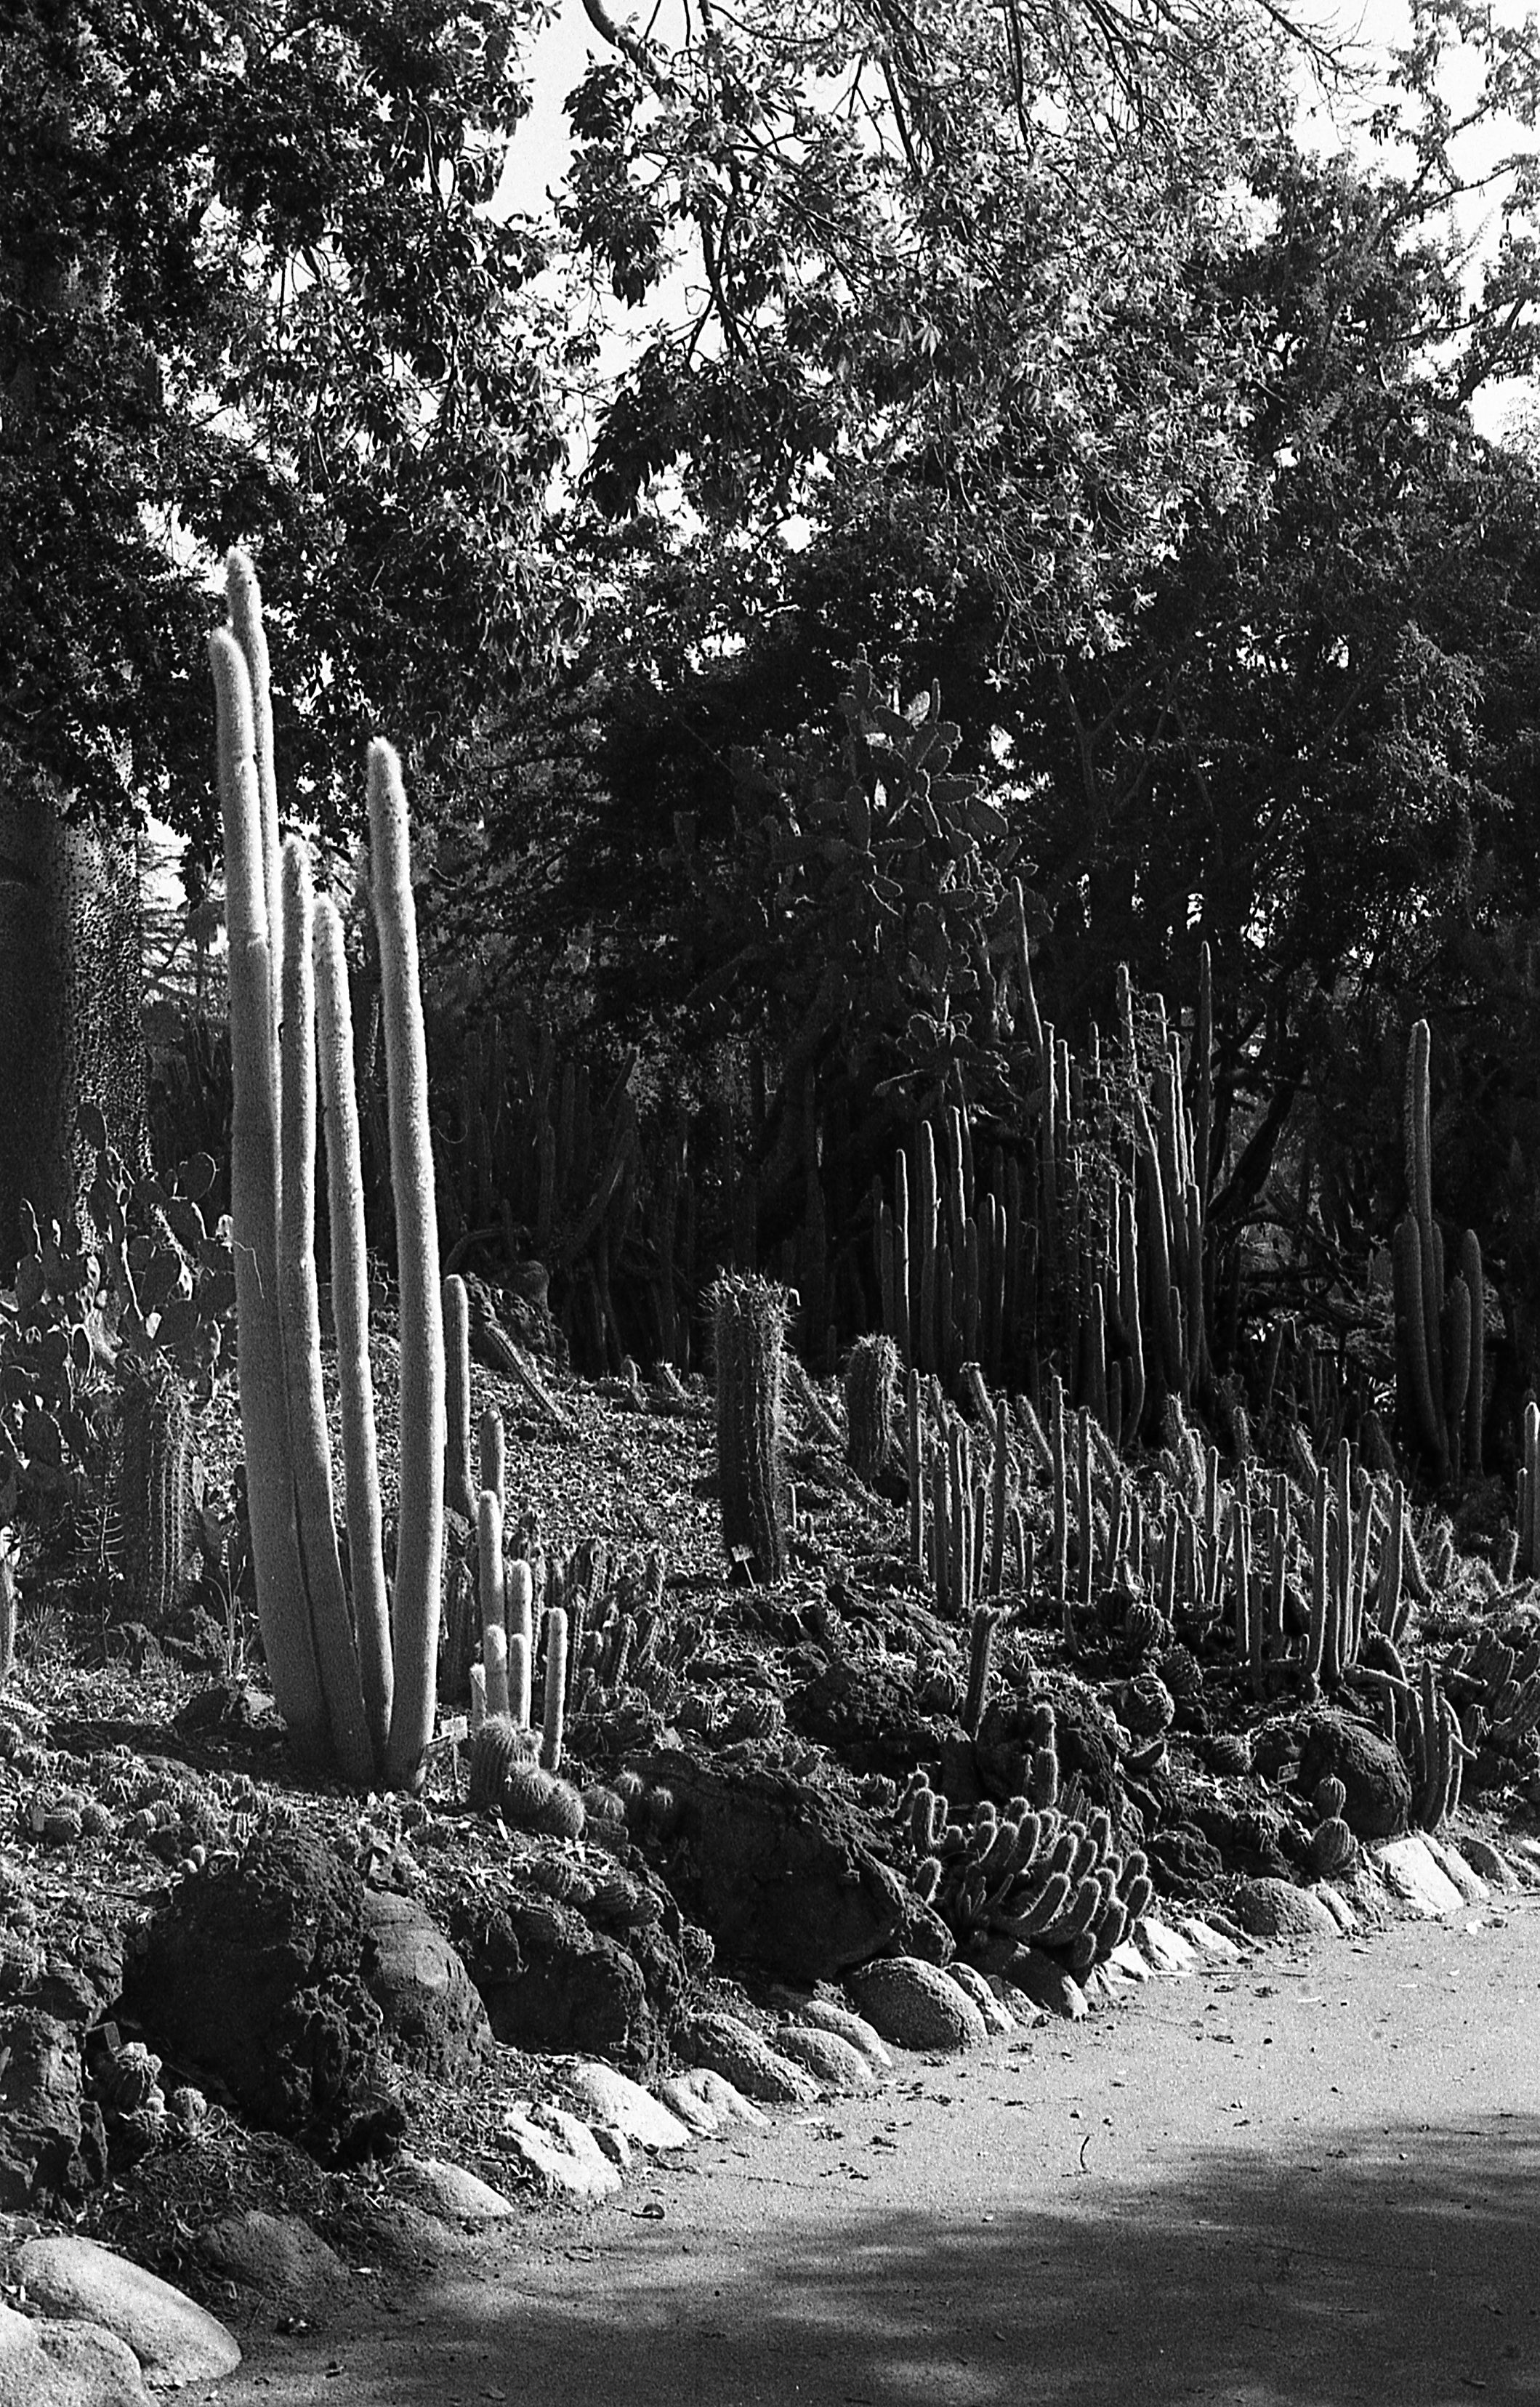
If you weren’t aware, the Huntington Gardens are large and sprawling complex. After we wrapped up our water break, we headed for the Desert Garden which was of particular interest to my father -- who, I believe if he ever retires, will likely move to a desert of some kind -- provided it has mountains. By this time, we were starting to get the really beautiful diffuse late-day light, you sometimes get in southern California, that’s somewhat like golden hour, but isn’t quite. Word salad I know, but bear with me here. By far the Desert garden is the most interesting garden, or at least it looks the most totally alien.

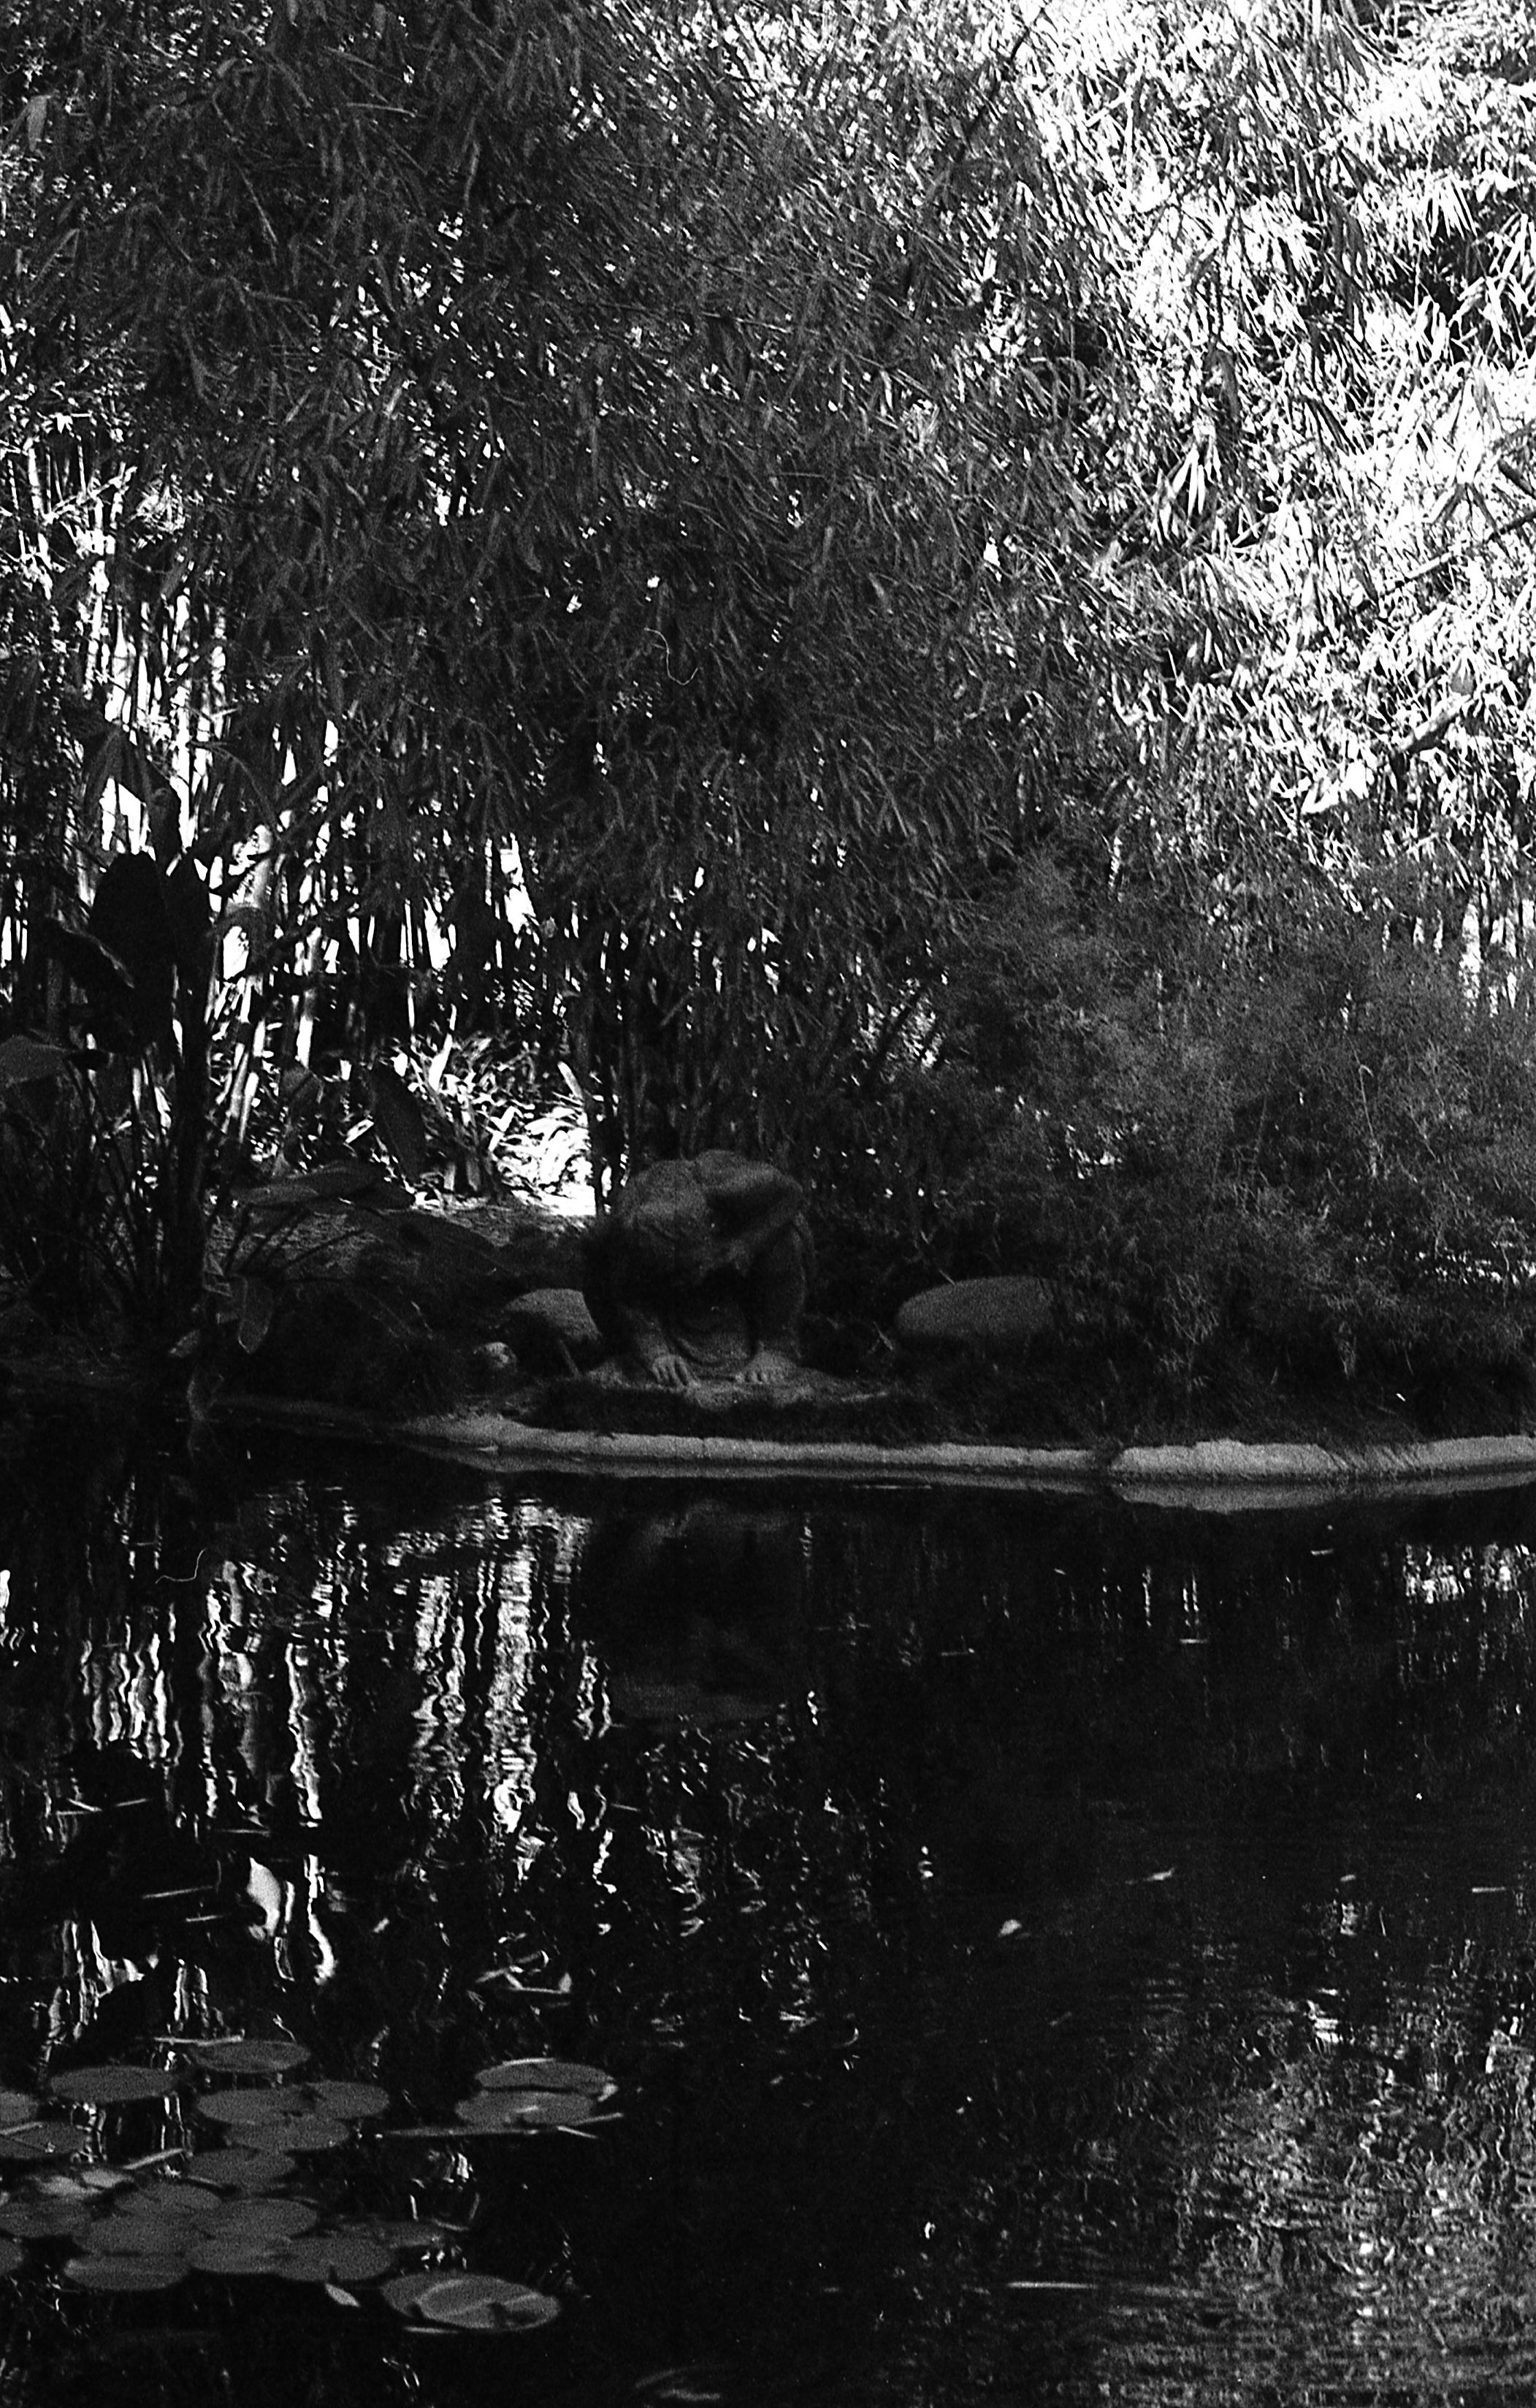
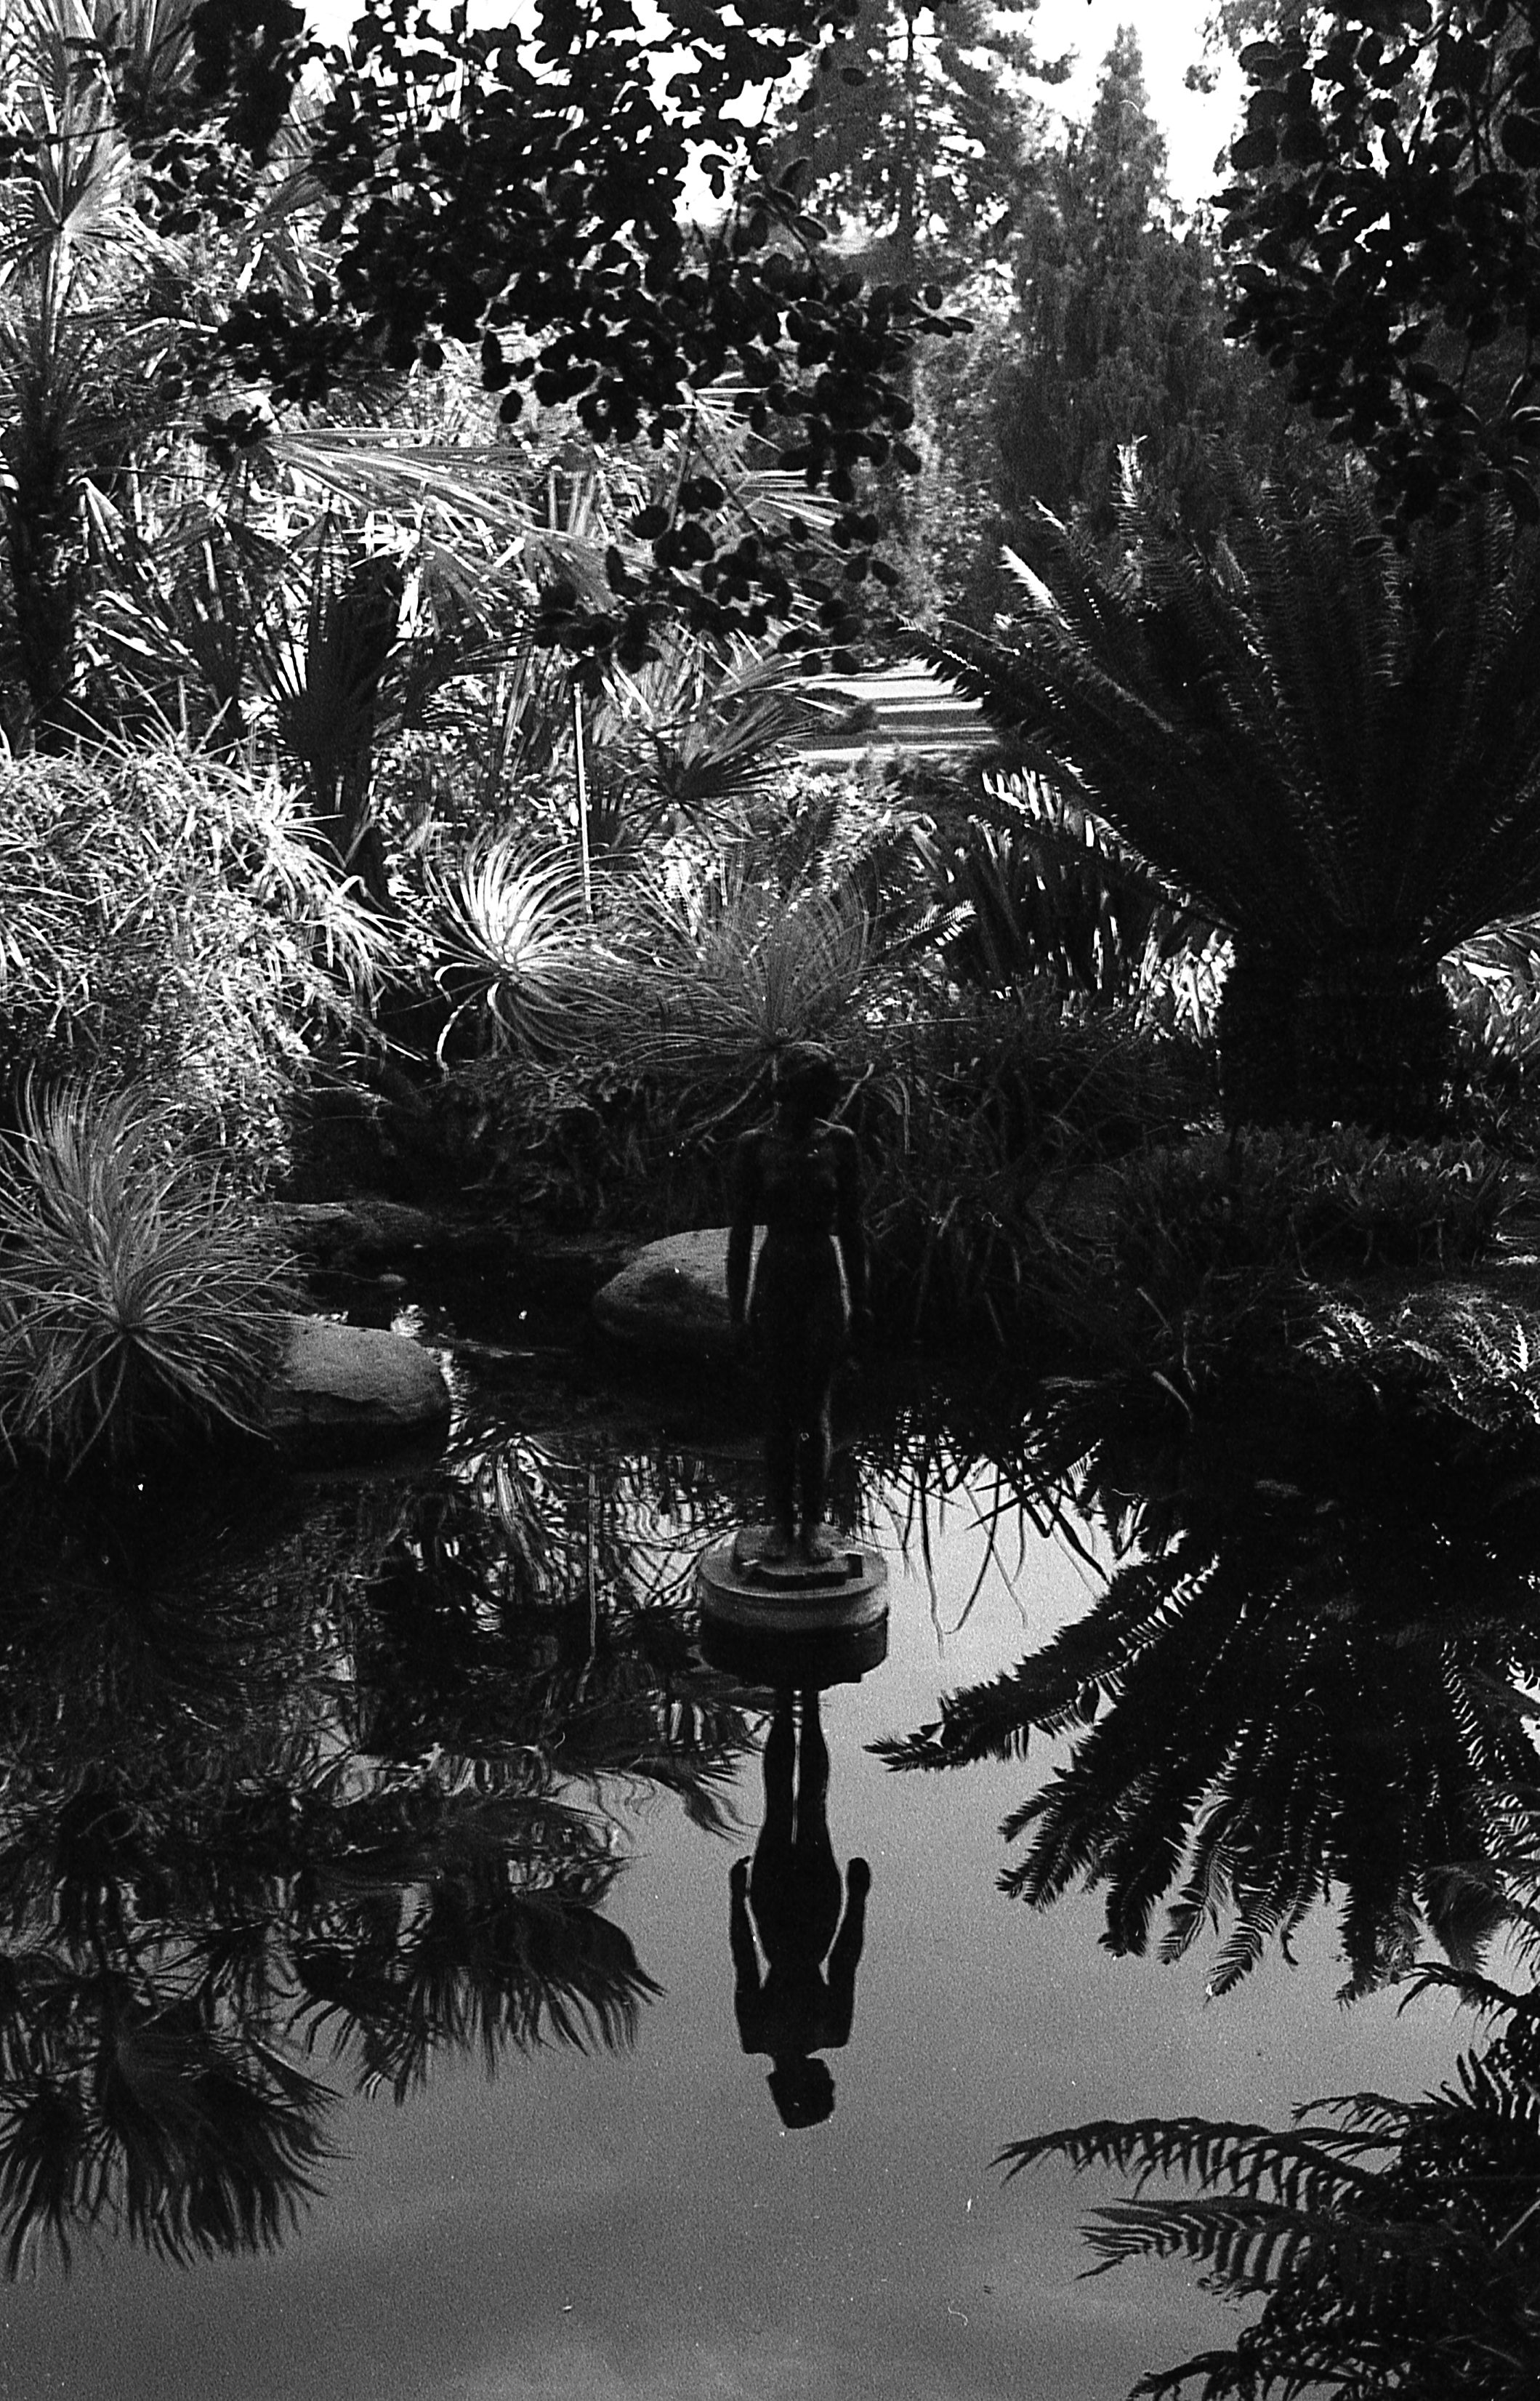
We walked the Desert Garden end to end, and headed on to the Lilly pond -- Which was likely the only place in the Gardens that day that I felt like the Agfapan APX 100 wasn’t quite fast enough -- don’t get me wrong; I really like the photos I got from it (that I’m presenting here) but some of them felt kinda jank while shooting. Like they worked, and I got more or less what I wanted, but it’s not *quite* optimal. After scaling up the hill, we worked our way back across the grounds once more and then ended up back at the main Mansion, and I suppose one of the three main art galleries. The collection they had was, is? Really impressive, specifically their portraiture gallery. Definitely food for thought for a portrait project. I should’ve taken photos inside, but lacked the film I needed to do it right.

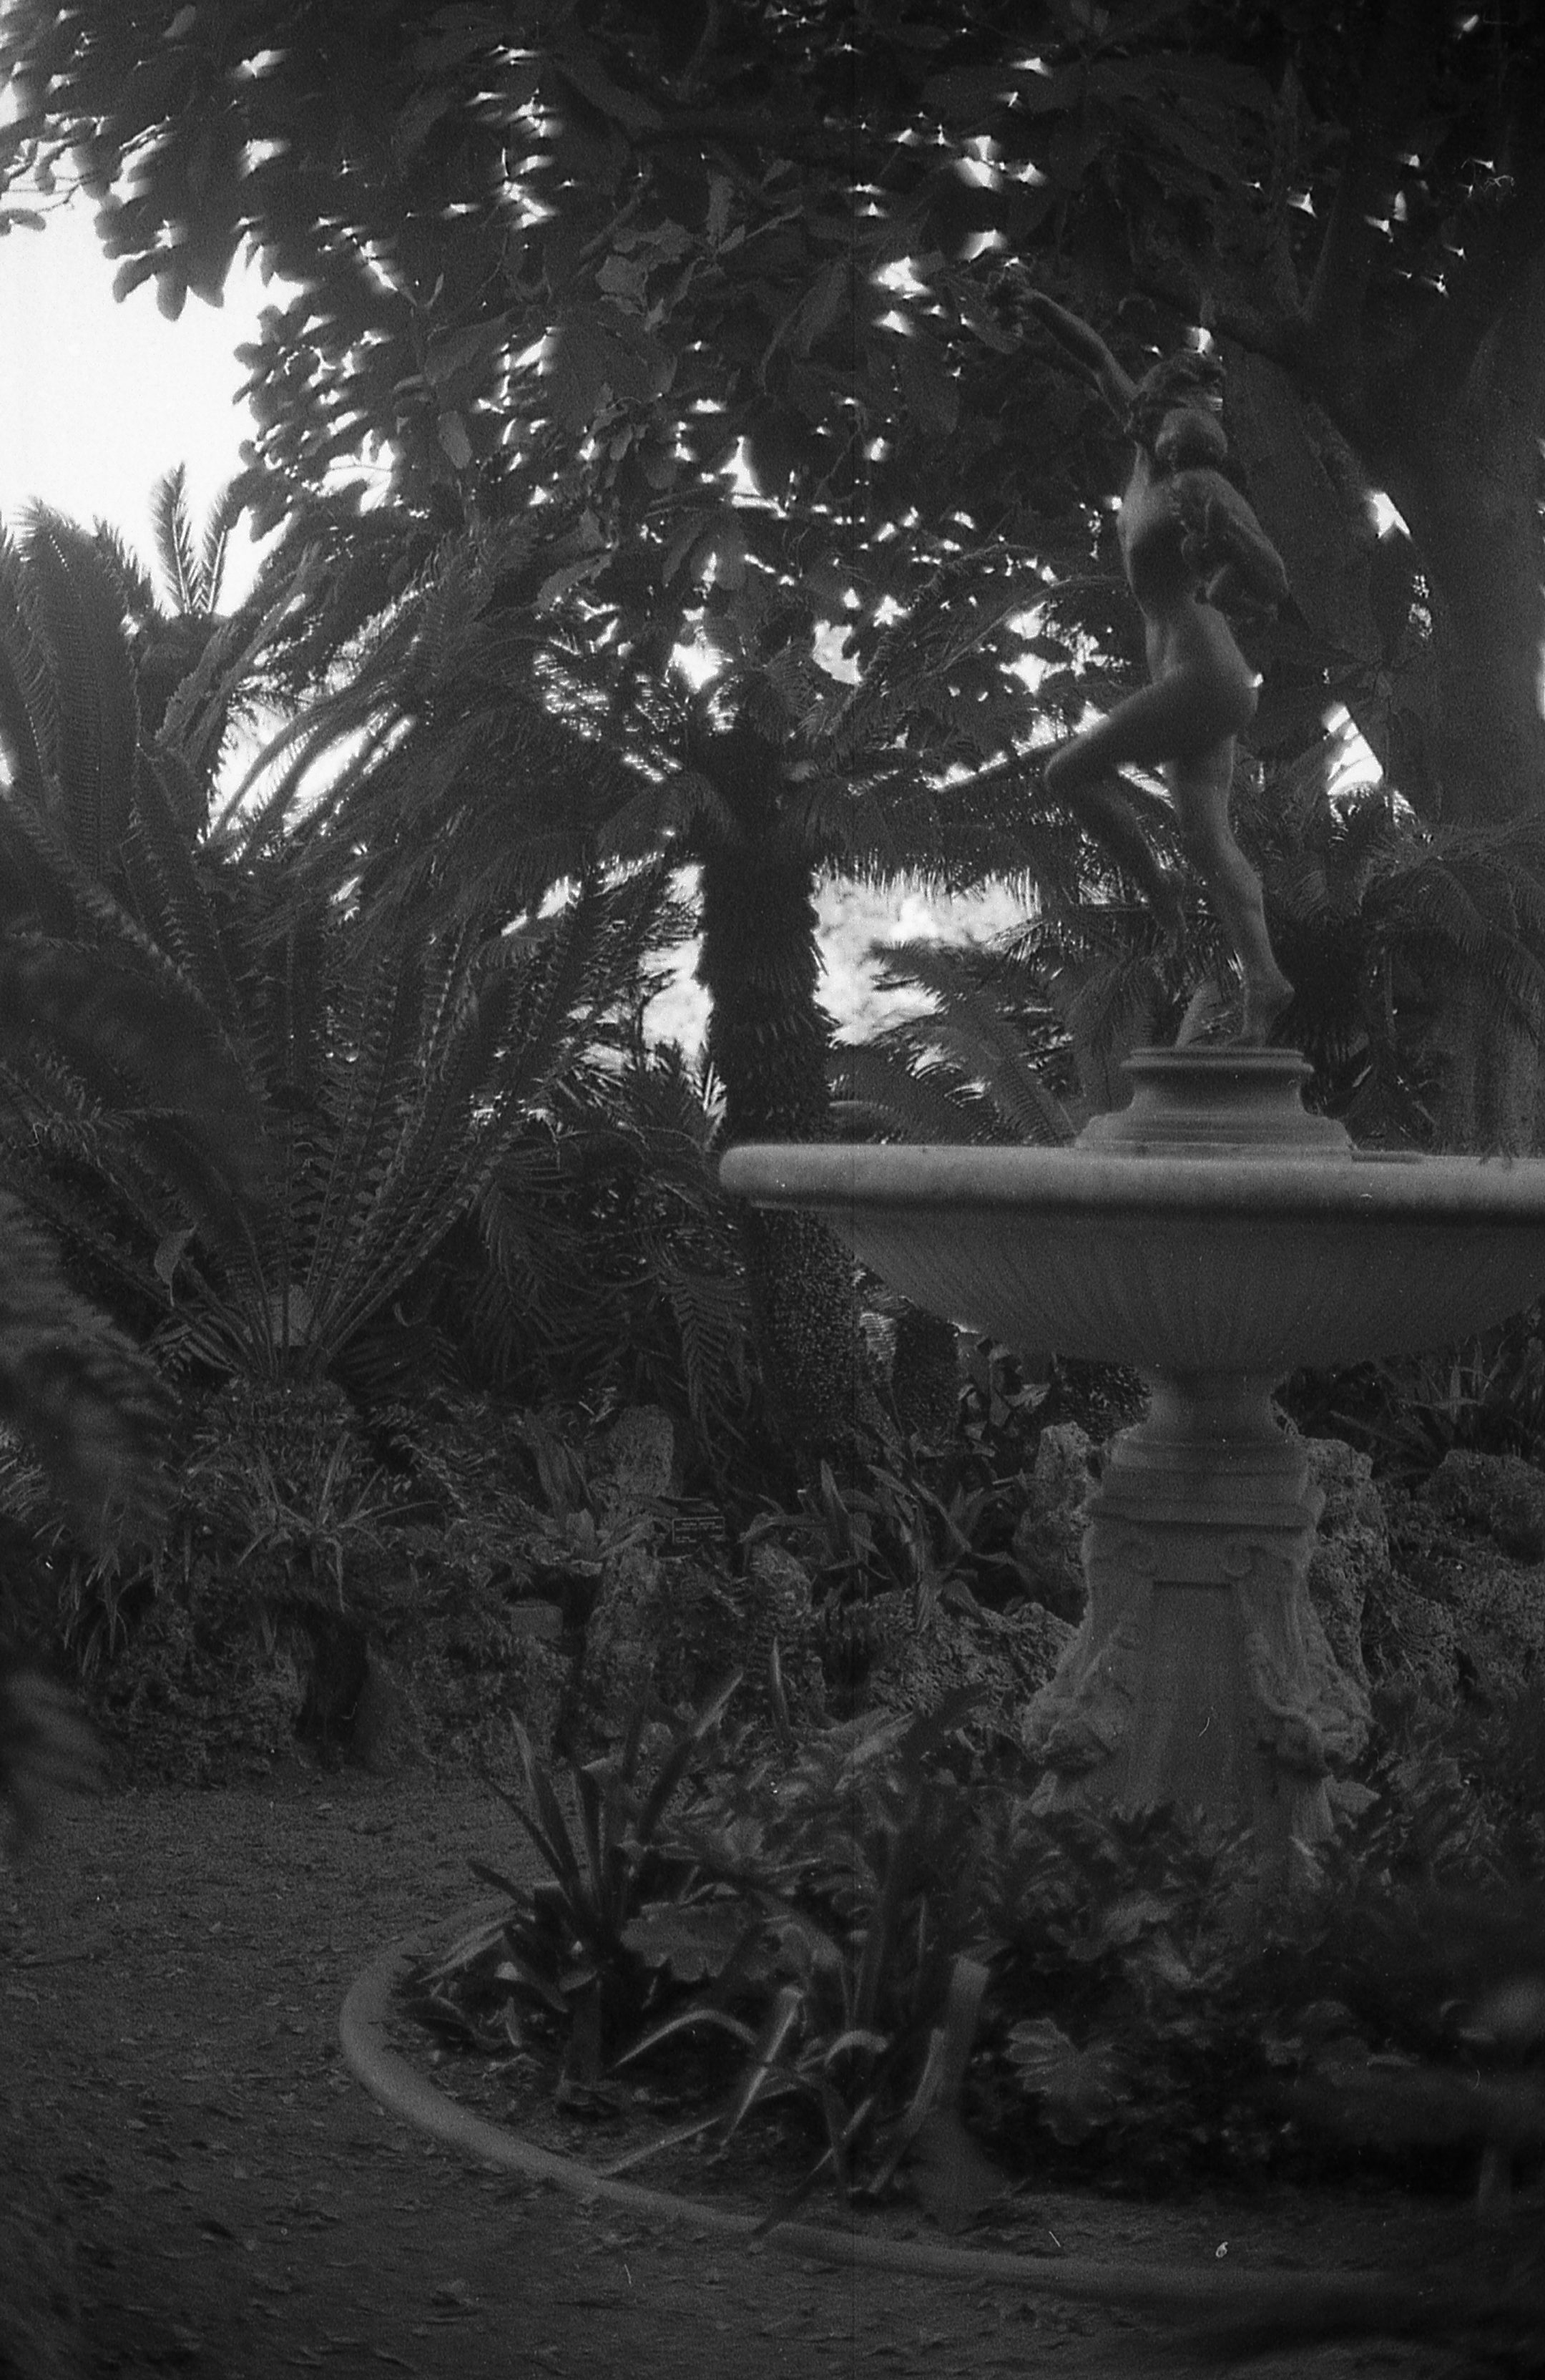
It was late in the day once we’d finished up in the Mansion we were about ready for dinner. We exited out onto the lawn and walked the grounds, down to the Fountain. It’s long been on my must return to/to shoot areas, but that day was not in the cards for me shooting -- there were actors doing some community theatre tier play or something on the lawn, which made it near impossible to get the shots I wanted. So I grabbed a couple last shots of the statues and we all filed out back to the car, and headed for dinner at MHZH over in Silverlake.

There’s not much real technical photographic takeaway here -- maybe label your film so you know you need to push a roll or two differently than the rest. The real takeaways I got were as follows: a 50mm is more than enough lens for you for most applications. Just get clever. And carrying around a giant-ass or even medium-ass sized camera bag sucks, especially when you’re out with non-photographers and you’re really just trying to enjoy your day out, but also get some good shooting done, because you’re a compulsive shooter. Honestly, I had a very nice day shooting and walking, but I think it would’ve been dramatically improved for everyone had I not been toting that stupid bag.

Anyway, if you’ve enjoyed this content -- please pick up a zine or shirt in the shop. Every purchase helps keep the lights on here.

Thanks!

Andrew.

Test Your Goddamn Film.

Test Your Goddamn Film

Until early 2018,

I never took properly testing my film or developer too seriously. I picked a developer, cycled in between basically anything I could find and shoot, mostly just to shoot whatever I could find, and just stuck with whatever recipe the massive dev chart suggested, and hoped for the best. Honestly, it worked -- most of the time. That being said, over time, I’ve begun to desire more consistent results, to build a codified aesthetic, or voice if you will. I had a long period shooting Delta 100, in Kodak Xtol 1:1, but even then I’d go off and get distracted shooting Fomapan 100 for a week, or some bizarro expired neopan, without really digging into testing best practices for that core of Delta 100. While I may not have finally settled into a consistent aesthetic -- I’m still settling on my daily shooter/singular film stock -- I have learned or at least gained an appreciation for good testing and consistency. I think thorough testing is a necessity to the craft of black and white analogue photography, and to a lesser extent -- color photography.

Traditional Silver Black and White Negative film, and its developers, is the only film which requires extensive testing. There’s only one true “correct” developer for color negative still film, which is C-41 or whatever the company making it is calling it. Any color negative development, outside of that is cross-processing. Once you learn what an individual emulsion does, and how it reacts to light, and what it does when pushed or pulled or whatever other idiot processing decisions you want to subject it to it’s not going to deviate from that -- but even then, with rare exception, almost all C-41 film behaves the same way. As of writing this, there are over 100 different developers listed on the Massive Dev Chart. Given some (most) of them may not be in wide use. But even then, let’s say there are 10 “standard developers” (Rodinal, HC-110 or Ilfotec HC, D-76 or ID-11, DD-X, Xtol, Sprint, the Pyro Family, Ilfosol S, and Diafine), that’s still 9 more developers that are standard process than color film has. And each one of them has different dilutions which do different things, and act differently based on the relative temperature one develops at.

For my primary case study, I’d like to use Rodinal, because it’s such a universal developer. Let’s go over some standard assumptions -- Rodinal has three standard dilutions, 1:25, 1:50 -- the “standard” , 1:100 -- which sometimes is performed as a semi-stand development, and sometimes as a full stand for at least one hour. Rodinal does *not* play nicely at higher temperatures than the given 20ºC/68ºF, and tends to create heavy, heavy grain, as it is an Acutance developer, and most of its developing action comes from making grain larger rather than cutting away at the grain -- ie a solvent developer -- I’ll get to that soon. On top of that, because rodinal works at high dilutions, 1:50, 1:100, and those dilutions can take so much time, you can get compensation. Compensation is a bizarre phenomena which seems to allow one to get a more even rendition, along with sharper edges on their image subjects, but within certain limits, and only with certain developers. On top of that rodinal can be used to push, but because of the way the developer works, it’s typically not used as a push developer. Or at the very least, from my personal experience, one should not use additional time to push the film itself, to “gain” a stop, so much as they should use it to increase the negative thickness or the amount of contrast on the negatives. (NB: most of my info is pulled from Massive Dev, or Unblinking Eye -- they have a page specifically on Rodinal).

I don’t know if you’ve been keeping tally of all the variables and considerations in that last block of text, but that’s a lot of variables, with a lot of finicky and personal/preferential answers -- That’s three separate dilution choices, temperature volatility, speed volatility (ie how much grain the developer creates given the speed of the film, then also how much nominal speed the film loses in the developer), what kind of contrast you need, how much extra time you should be developing to compensate for a particularly dark or light scene. And those are just the developer variables, that’s not even taking into account how you rated the film you’re developing, or the water quality/mineral content of the water that you’re using for your dilutions.

That being said: most film, or at least any film made by a decently large manufacturer, or of “professional quality,” typically comes with its own datasheet, which should either be right on the film’s own box, or available from the manufacturer, online. Kodak is really great about this, as is Ilford, given the number of different films they manufacture. I even have a data sheet from the now defunct AGFA, for the batch of APX100 I shot (which actually confirms their loose recommendation of 17 minutes, in Rodinal 1:50.) These sheets typically give best practice for the film, and the best possible starting point. That being said, they’re not long on examples, just pure data on “how much contrast do you want vs. how thick your negative will be (gamma), and this is what the light response curve is.” Which is great, but not really a good substitute for figuring out what you actually need out of a film, which, unless you can perfectly read all those charts, and intuitively know what the film will look like, you still have to go and shoot film yourself to find out what the compensation is like, the amount of grain is in a given developer, or even how a developer will render the film given the scene. And this isn’t even taking into account all the variables that go along with developing, aside from time. All of this is a good starting point, but at the end of the day, you should still conduct your own tests.

Testing your film is important. Thorough testing allows one to get exactly the look, feel, and density one requires out of their film, without having to worry too much, or spend an excess amount of time correcting or photoshopping, once a desired benchmark is set. Once you sets your benchmark, you end up saving much more time in the long run despite the initial timesink of having to do all the research and testing in the first place. To make this personally relevant, this process of testing, in detail, is why I won’t review a film, unless I can shoot at least 20 rolls of it (if not more), because without that thoroughness, or exposure to multiple developers, conditions, etc, I feel it paints a relatively incomplete picture of what a given film is capable of. Admittedly, I was inspired to do or start testing thoroughly or sticking with a single film (per usage) at a time by Johnny Patience’s Article on the death of the zone system, which is also definitely worth a read.

Anyway, to sum all of this up: If you want the best most consistent results, test your goddamn film.

If you’ve enjoyed this content, buy a zine in the shop, so I can continue to produce it, and host it here on the website. -- Thanks!